If you’re looking to level up your pour over coffee, you’re in for a treat.
As a dedicated coffee roaster, I’ve poured my heart and soul into trying to master all things coffee, including the art of brewing pour overs. After all, what good is a well-roasted bean if you don’t know how to brew it properly
This comprehensive brewing guide serves as a hub for all things pour over, offering valuable tips and techniques to elevate your home brewing game and make you much more knowledgeable when you visit your local specialty coffee shop.
Whether you’re a curious beginner or a seasoned aficionado, join me on this journey to unlock the secrets of crafting a barista-worthy pour over.
What is the pour over coffee brewing method?
First things first… what exactly is a pour over?
The pour over coffee brewing method is a technique that involves manually pouring hot water over coffee grounds in a filter, allowing the water to slowly pass through the grounds and extract the desired flavors and aromas. It is a hands-on approach that offers precise control over variables such as water temperature, flow rate, and brew time, resulting in a nuanced and customizable cup of coffee.
The history of pour over coffee brewing can be traced back to the early 20th century. One of the earliest pioneers of this method was a German housewife named Melitta Bentz. In 1908, she grew frustrated with the common brewing methods of the time, which often resulted in bitter and muddy coffee. [Source – 1]
Driven by a desire to improve her coffee experience, Bentz experimented with various materials and designs. Eventually, she developed a filtration system made by perforating a brass pot and lining it with blotting paper from her son’s school notebook. This invention, which she called the “Melitta filter,” allowed for more precise control over the extraction process, producing a cleaner and smoother cup of coffee.
Over the years, pour over brewing methods have evolved, with lots of new devices and techniques entering the market. Pour over has become an integral part of most specialty coffee shops, where the focus is on sourcing exceptional beans, carefully roasting them, and using precise brewing methods to unlock their full potential.
This process allows you to better appreciate the subtleties of coffee flavor profiles, acidity, and sweetness.
Why should you try pour over?
Pour over brewing offers a unique coffee experience that is worth trying for several reasons. If you enjoy a hands-on approach, appreciate the nuances of coffee flavors, and are willing to invest time and effort, pour-over brewing can be quite satisfying!
Pros of pour overs:
- Flavor Control: Pour over allows for precise control over brewing variables such as water temperature, flow rate, and brew time, resulting in a more customizable flavor profile. You can highlight specific characteristics of the coffee beans and tailor the taste to your preference.
- Clarity and Cleanliness: The pour over method uses a paper or cloth filter, effectively removing sediment and oils from the coffee, resulting in a cleaner cup with a lighter body.
- Ritual and Engagement: Pour over brewing is a hands-on and mindful process that engages all your senses. For me, my morning ritual isn’t complete without a V60 pour over.
- Portability: Pour over devices such as drippers or single-cup brewers are compact and portable, making them suitable for travel or brewing coffee on the go.
Cons of pour overs:
- Time and Effort: Pour over brewing requires more time and attention compared to other methods. The process involves manually pouring hot water in a controlled manner, which can be time-consuming, especially for those seeking a quick cup of coffee.
- Skill and Technique: Achieving consistent results with pour-over brewing may take practice and refinement of the pouring technique. It can be a bit challenging for beginners who are new to the method.
- Equipment and Cost: To brew pour-over coffee, you need specific equipment such as a pour over device, filters, a kettle with a gooseneck spout (ideally), and a scale. The initial investment and ongoing cost of these tools may be higher compared to other brewing methods, like a French Press.
What do you need to make a pour over?
To make a pour over, you’ll need a few essential pieces of equipment that play crucial roles in achieving a delicious coffee. Let’s explore the importance of each component and the options available.
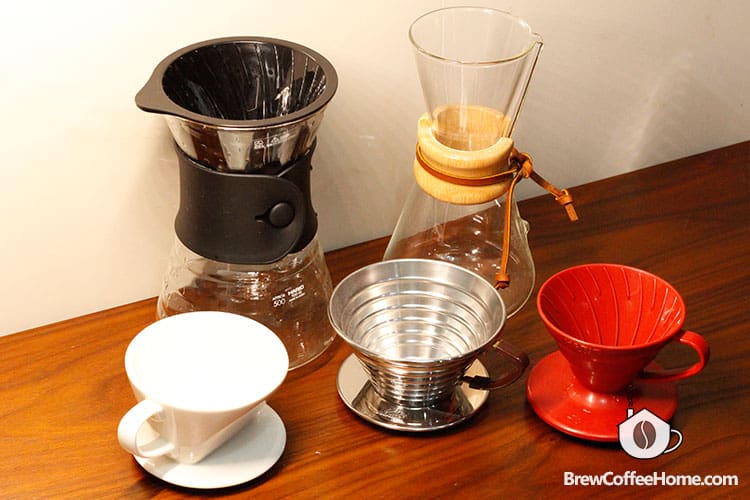
Brewers (Drippers)
The brewer, or dripper, is the heart of the setup. It’s the actual unit that holds the filter and ground coffee in place, allowing for the controlled extraction of your favorite beans.

Popular options include the Hario V60, Chemex, and Kalita Wave. Each dripper has its unique design, with variations in the size and number of drainage holes, shape, and materials used. These variations affect the flow rate and the interaction between water and coffee grounds, ultimately influencing the flavor profile of the brewed coffee.
If you want to know more about them, check out our comprehensive guide to pour-over brewers.
Filters
Filters play a vital role in pour overs by removing sediments and oils, resulting in a cleaner cup of coffee. They help to maintain clarity and enhance the aromatic qualities of the brew. Paper filters are the most commonly used type and are available in various sizes and thicknesses. Additionally, reusable metal or cloth filters offer a more sustainable option with different brewing characteristics.
Gooseneck Kettle
While you can use a normal kettle or pot, you will very quickly want to invest in a gooseneck kettle if you’re serious about perfecting the art of pour overs. A gooseneck kettle is essential for achieving precise water control during the brewing process.

Its long and narrow spout allows for a controlled and steady stream of hot water, ensuring even saturation of the coffee grounds. This level of control is crucial for maintaining consistent extraction and being able to repeat the process when you end up with that perfect cup of coffee.
Electric or stovetop gooseneck kettles are available, with features such as variable temperature control and built-in timers for added convenience.
Coffee Scale
A coffee scale is an indispensable tool for achieving accuracy and consistency in pour over brewing. It allows you to measure the precise amount of coffee and water, ensuring the right ratio for optimal extraction. Digital scales with a high level of sensitivity are preferred, enabling precise measurements in grams.
No matter how you brew coffee, a coffee scale is the first tool that I recommend any beginner to purchase. You simply can’t consistently make good coffee without a scale. It will also improve your cooking and baking skills!
We made a list of the best coffee scales here for your reference.

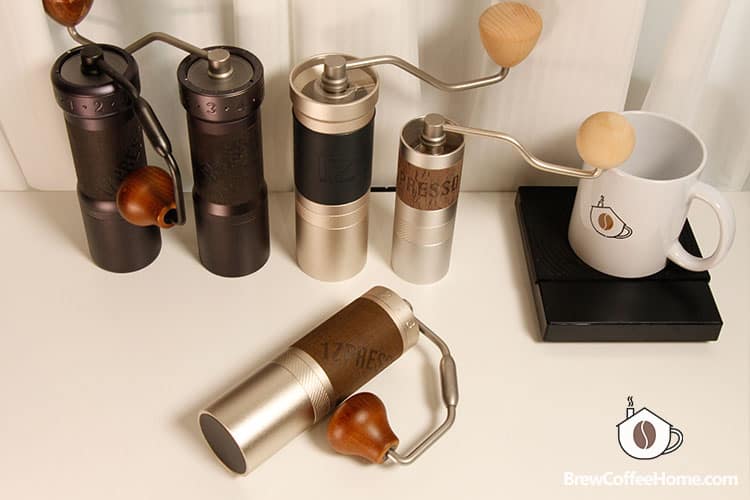
Coffee Grinder
A quality coffee grinder is essential for achieving consistent and uniform coffee grounds. Burr grinders are highly recommended for pour overs, as they provide a more even grind size than blade grinders. Options range from manual hand grinders to electric burr grinders, with various settings to adjust the grind size according to your brewing preference.

Timer
While not strictly necessary, a timer can be helpful for tracking the brew time and ensuring consistency. It allows you to replicate successful brews and fine-tune your technique over time. Your scale should come with one built-in. If it doesn’t, just use your phone.

How to Make Pour Over Coffee – The Basic Steps
Here is a step-by-step guide to make a standard pour over. The actual brewer (or dripper) you use isn’t so important and will work for V60, Melitta, Kalita Wave, and others. I personally use this recipe for a V60.
Recipe:
- 15 grams of coffee
- 225 grams of water
- Brew temp: 90-96°C (195-205°F)
- Brew time: about 2 minutes and 30 seconds
Here is a short video showing you the steps to make pour over following this recipe.
Step 1: Heat up some water.
Begin by heating your water to the desired brewing temperature. The ideal temperature range is between 195°F (90°C) and 205°F (96°C). I use 199.5°F (93°C) for almost all of the pour overs that I make. It seems to be the sweet spot for the specialty coffee that I brew.
Step 2: Grind some beans.
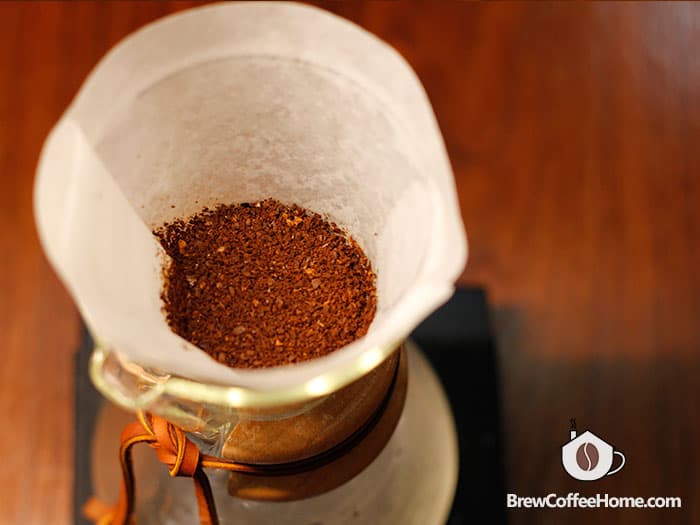
Grind your coffee beans to a medium-fine consistency, resembling coarse sand. The grind size is crucial for proper extraction and can vary depending on personal preference and the specific pour over device you are using. A medium-fine grind size usually works really well with my V60 (for brewing this amount of coffee).
Note: If you plan to double this recipe to make two cups of coffee, you will need to use a coarser grind size to stay within the ideal brew time of 2:30.
Step 3: Rinse your filter.
Place a filter in your dripper and rinse it with hot water. This helps remove any papery tastes and preheats the brewing vessel. Discard the rinse water.
Don’t be skimpy with the quantity of water that you use when rinsing. The taste of paper can be very strong in your cup if you skip this step.
Step 4: Add the coffee grounds.
Add the ground coffee to the rinsed filter. Gently shake or tap the dripper to make sure the coffee bed is nice and level. Place the dripper on top of your cup or a carafe to catch the brewed coffee.
Step 5: Bloom, baby, bloom!
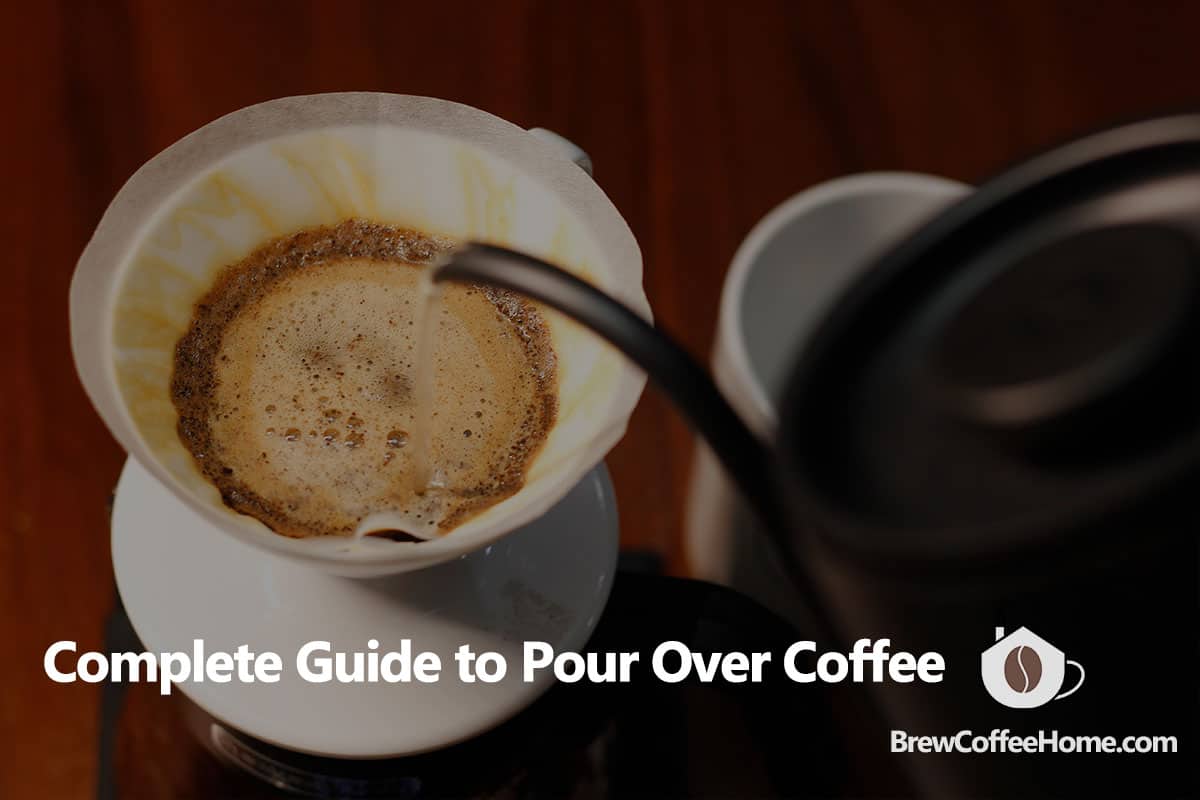
Start the brewing process by pouring a small amount of water (twice the weight of the ground coffee… 30 grams) over the coffee bed. Make sure you start your timer. I like to give my brewer a gentle swirl to make sure all the grounds are saturated and start to brew at the same time. Let the coffee bloom for about 30 seconds. This step allows the coffee to release trapped gases and ensures even saturation.
Step 6: Add more water.
Using a gooseneck kettle, pour the remaining water in a slow, circular motion, starting from the center and spiraling outward. Maintain a steady and controlled pour and avoid pouring directly onto the edges of the filter. I like to pour about 150 grams of water, wait until 1:10 have passed on the clock, then add the remaining 75 grams of water. Don’t worry too much about this on your first go.
Step 7: Remove the dripper and enjoy!
Remove the dripper, discard the used filter, and enjoy your freshly brewed pour over coffee. The entire brew time should typically be between 2:15-3:00 for specialty coffee in a V60. Some pour over methods taste great with a brew time between 3-4 minutes, so don’t stress if your brew took a little longer than expected.
Up Your Game – Mastering the Pour Over Coffee Technique
To level up your pour over game, understanding the following parameters is crucial. Each factor plays a significant role in achieving a great extraction and, consequently, a delicious cup of coffee.
Coffee-to-Water Ratio for Pour Over
The recommended coffee-to-water ratio for pour over brewing is typically between 1:13 to 1:16, meaning 1 gram of coffee to 13-16 grams of water. This ratio can be adjusted based on personal taste preferences and the desired strength of the brew.
I always use a 1:15 ratio with a new bag of beans when brewing a V60 pour over. After tasting the coffee, I make minor adjustments to my coffee ratio.
Grind Size for Pour Over
The grind size for pour over coffee should be around medium-fine or medium, resembling table salt or sugar. This allows for proper extraction while preventing over or under-extraction.

The specific grind size may vary slightly depending on the pour over device being used. Check out our article on pour over grind sizes to dial in the right particle size.
Brew Temperature
The ideal brew temperature for pour over coffee falls between 195°F (90°C) and 205°F (96°C). This range ensures proper extraction without scorching the coffee grounds or extracting undesirable flavors. I almost always use 199.5°F (93°C), since my electric gooseneck kettle from Fellow lets me be that specific.
Check my detailed guide for pour over temperature here.
Flow Rate & Brew Time
The flow rate and brew time go hand in hand. Aim for a steady and controlled flow rate during the pour, ensuring all the coffee grounds are evenly saturated. The total brew time, including the bloom, typically ranges from 2 to 4 minutes, but this can be adjusted based on personal preference, the coffee’s characteristics, and the type of dripper you are using.
I find 2:15-3:00 works best for most light to medium roasts using specialty-grade coffee beans.
Multiple Pours or a Single Pour?
The number of pours can vary. Some prefer a single continuous pour, while others opt for multiple pours. This is a big debate in the coffee community.
Multiple pours involve dividing the total water volume into smaller increments and pouring in stages. This technique allows for greater control over coffee extraction and coffee flavor development. The number of pours depends on factors such as the coffee-to-water ratio, desired strength, and brewing equipment.
My advice? Try both and see what tastes better for you.
Blooming
This is another hot topic among coffee nerds like myself. Blooming is the initial step in pour over brewing, involving saturating the coffee bed with a small amount of water and allowing them to release carbon dioxide gas (created from the roasting process). I believe that blooming helps ensure even extraction and enhances the flavors in the final cup. Most people who bloom choose to bloom the coffee for approximately 30 seconds before continuing with the main pour.

Again, don’t get too hung up here. Try a brew using the blooming technique, and try one without. See what you like best and if you notice any major differences in the final taste of the cup.
Other Pour-Over Techniques
Hundreds (if not thousands) of pour over techniques exist. Check the following two out if you are looking for a tried and true V60 method explained by a coffee professional.
A Better 1 Cup V60 Technique – James Hoffmann
James Hoffmann is a famous coffee YouTuber that has a video on how to easily make a delicious V60 pour-over. He uses 15 grams of coffee with a grind size of medium-fine and 250 grams of boiling, filtered water.
James recommends pouring 50 grams of water for the bloom and gently swirling the dripper for a few seconds. After 45 seconds pass, he performs various pours of 50 grams of water each until the total weight of 250 grams is reached. Expect to finish in about 3 minutes.
V60 4:6 Method
Kyle Rowsell is my personal favorite coffee YouTuber. His videos are extremely engaging and informative, and he clearly explained Tetsu Kasuya’s famous 4:6 method in this video.
This method splits water into 40% and 60%. You pour the first 40% in two pours, which mainly affects sweetness and acidity. The amount of pours you use for the 60% of remaining water determines the strength. More pours result in a stronger cup.
Kyle uses 20 grams of coffee with 300 grams of 197°F (92°C) water. Hot water… not boiling water. He grinds a bit coarser than normal. Imagine Kosher salt. For each pour, he uses 3x the amount of the coffee (60 grams of water). Aim for about 3:00-3:15 as a drawdown time.
What Coffee is Best for Pour Over?
While the answer to this question depends entirely on what you like in your coffee, the pour over method does a great job of showcasing nuanced flavors and acidity. While your “typical” or more normal chocolatey and nutty coffees will still taste sweet and delicious with a pour over, these brewing methods really shine when it comes to highlighting the eccentricities of more “exotic” coffee beans.
For this reason, I recommend trying single-origin coffees known for their fruity/floral flavors, bright acidities, or more delicate notes such as black tea or jasmine. Ethiopian and Kenyan coffees are two origins that shine when brewed as a pour over.

I also think it’s worth trying coffee that went through experimental processing and fermentation techniques to really appreciate the unique notes that they have. I’m a sucker for Brazilian naturals and honeys that are anaerobically fermented. They tend to have a tropical fruit sweetness with a tangy acidity that I just can’t get enough of.
Final Thoughts
Mastering the art of pour over coffee is a journey that promises a rewarding coffee experience. By following the tips shared in this complete guide, you can elevate your home brewing game.
While it’s not the easiest brewing method, pour overs offer precise control over brewing variables, allowing you to highlight the unique characteristics of exceptional beans.
Embrace the ritual, engage your senses, and embark on a flavorful adventure as you explore the world of pour over coffee and begin brewing coffee better than ever.
Frequently Asked Questions
Pour over coffee offers a different brewing experience compared to drip coffee. It allows for more control over variables like water temperature and flow rate, resulting in a cleaner and more customizable cup. However, the preference for pour over versus drip coffee ultimately depends on individual taste preferences.
Pour over coffee and French Press coffee are two distinct brewing methods with unique characteristics. Pour over coffee tends to produce a cleaner and more delicate cup, while French Press coffee offers a fuller body and robust flavors. The choice between the two depends on personal preferences for flavor and mouthfeel, in addition to what you want to highlight for a specific type of coffee.
Several factors could contribute to a bitter taste in pour over coffee. It could be due to an excessively fine grind size, a high brewing temperature, a prolonged brew time, or an improper coffee-to-water ratio. Experimenting with adjustments to these variables can help you achieve a more balanced and less bitter pour over brew.
References:
[1] History of pour over – https://www.home-barista.com/brewing/history-pour-over-t70870.html

