Previously I reviewed a few semi-automatic espresso machines on my YouTube channel, many of you have asked about Gemilai’s in the comments.
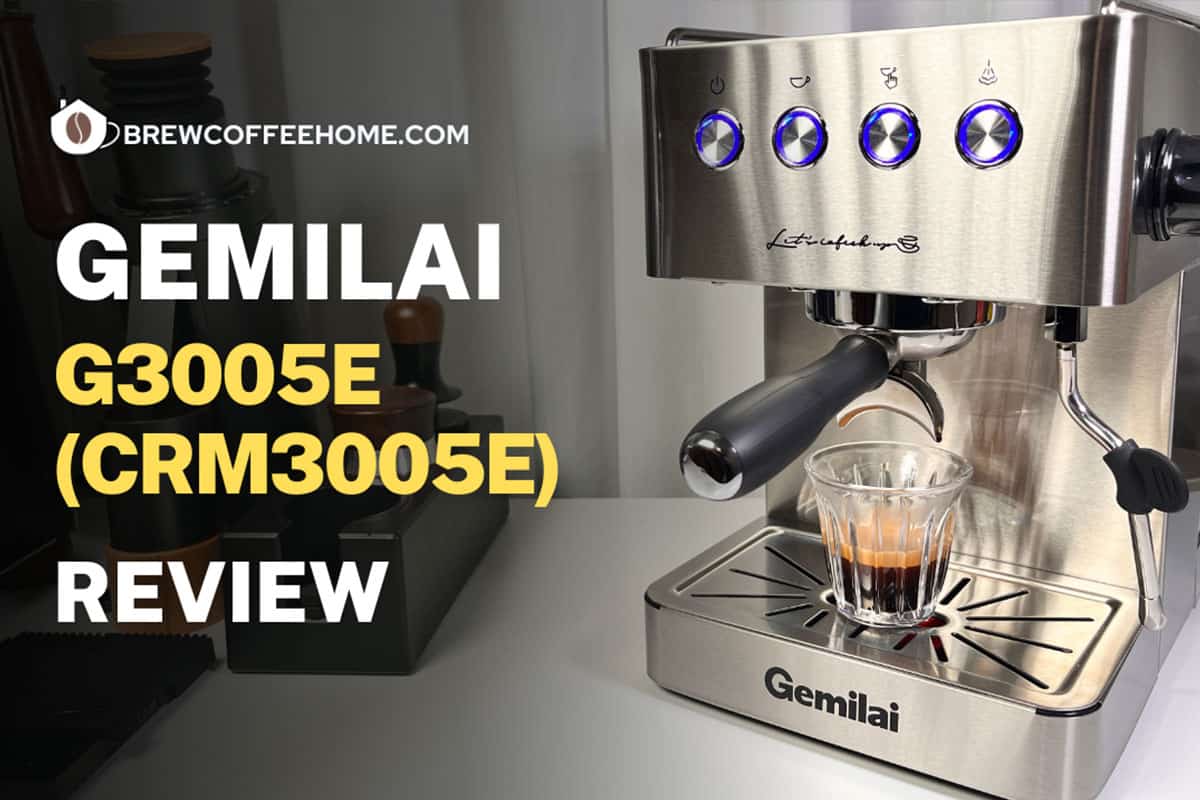
So I got the Gemilai G3005E, or CRM3005E, in some marketplaces. I have played around with it for a while, now I’m excited to share my experience.
Let’s see if this machine could be a good fit for your daily coffee routine.
** Use our 20%OFF Coupon Code for all Gemilai Machines on Gemilai’s Official Store: BCH20
Please check out the detailed walkthrough of the G3005E on our YouTube Channel.
Unboxing and First Impressions
The packaging of the Gemilai G3005E is solid and well-designed, with two sturdy boxes ensuring the machine is well-protected during shipping. Inside, you’ll find a box full of accessories, including a quick start guide, a manual, a large drip tray, a single-shot basket, and a well-made 58mm portafilter.
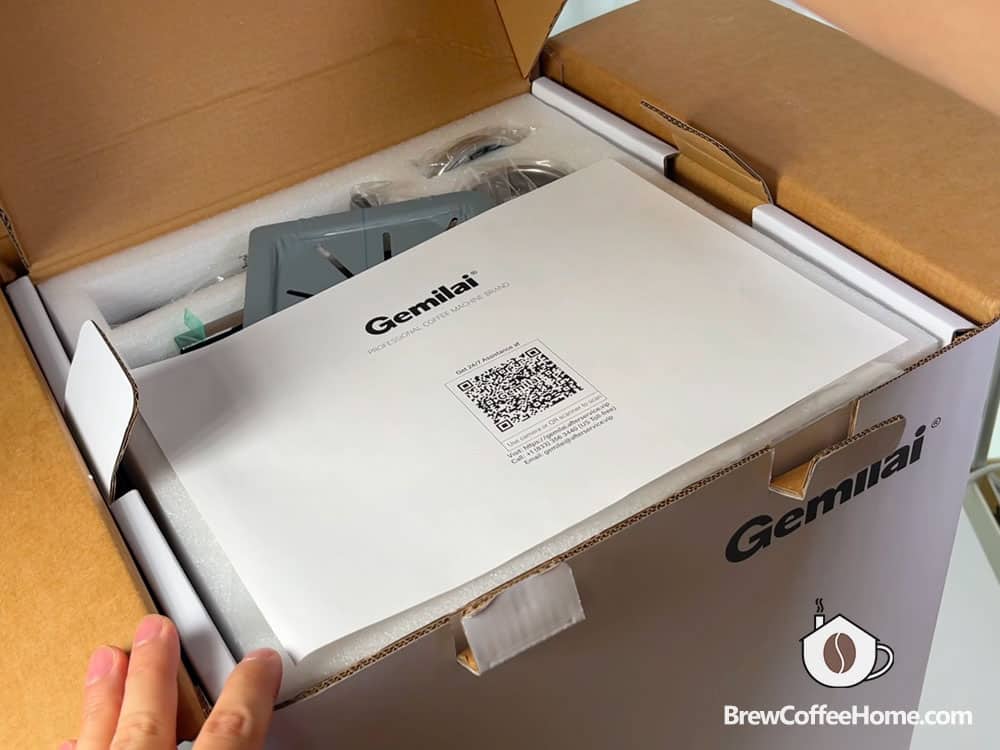
The package also includes a scoop that doubles as a tamper, along with a filter basket that comes with a cleaning disk for backflushing the machine. This feature indicates that the machine is equipped with a 3-way solenoid valve, which is quite impressive for an entry-level model.
Design and Build Quality
The Gemilai G3005E features a simple, classic design with an all-metal exterior.
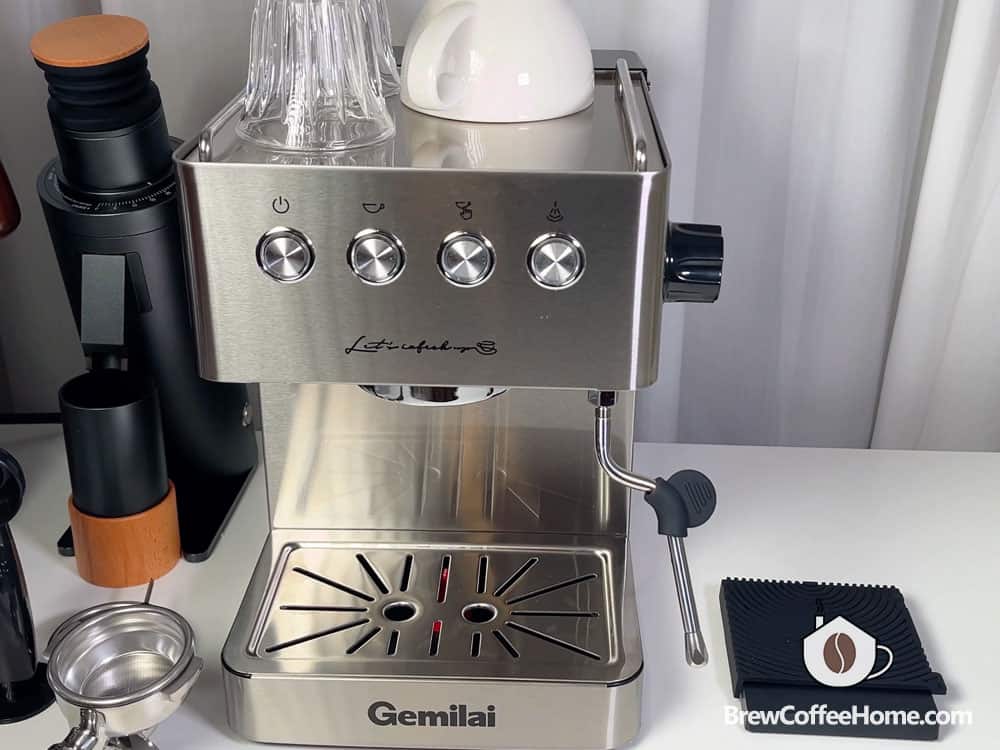
The body is made of thick, solid stainless steel. I’ve tested quite a few espresso makers at this price point. While many affordable machines also have stainless steel housing, they tend to use much thinner materials.
The group head is also made of metal, and the brushed stainless steel finish is well-crafted, giving the machine a sleek and durable appearance.
The machine’s weight adds to its stability, so I can lock in the portafilter without needing to hold the machine with my other hand.
Group Head and Portafilter
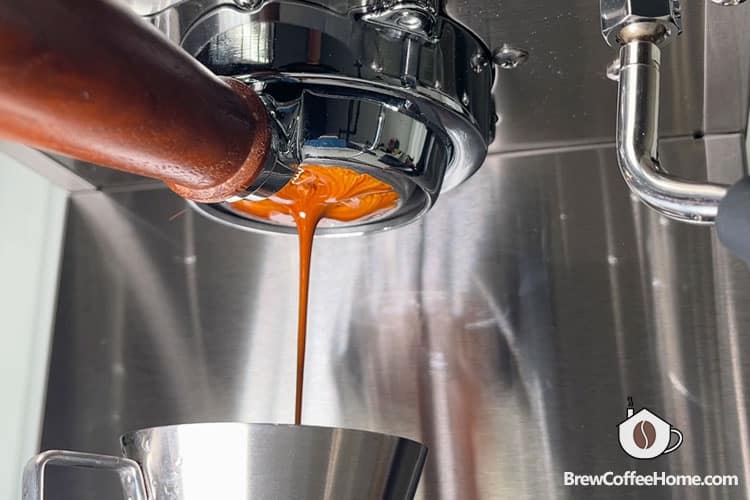
The portafilter is solid, with a standard 58mm size—the same as many commercial machines.
It’s well-designed with a nice spout and weighs about 490 grams.
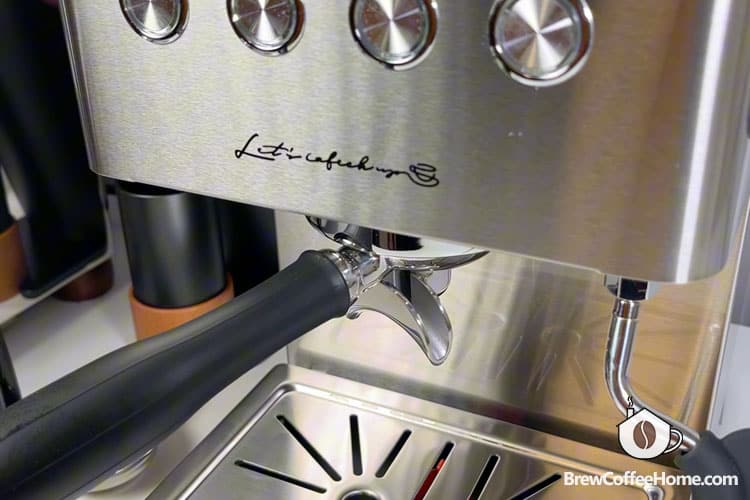
Although it doesn’t come with a bottomless portafilter, the standard design makes it easy to find a compatible one. I tested it with the bottomless portafilter from my Lelit Bianca, and it worked perfectly.
Drip Tray and Water Tank
The drip tray has a decent size. It’s quite easy to clean. Although it includes plastic components, they are thick and feel durable, not flimsy at all.
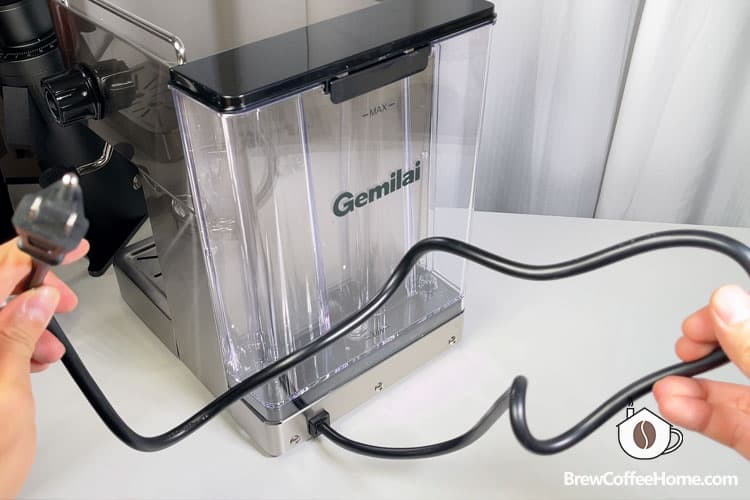
The machine also comes with a 1.7-liter water tank, which is large enough for multiple uses and easy to remove for refilling.
Steam Wand and Other Features
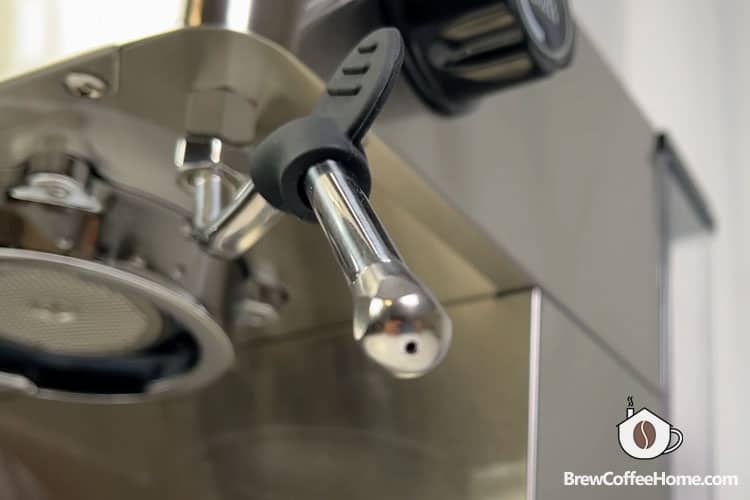
The steam wand has a one-hole tip, which is quite common in entry-level machines. It is long enough so I can steam milk with a larger milk pitcher.
Additionally, I like the long power cord. It offers flexibility in where you place the machine.
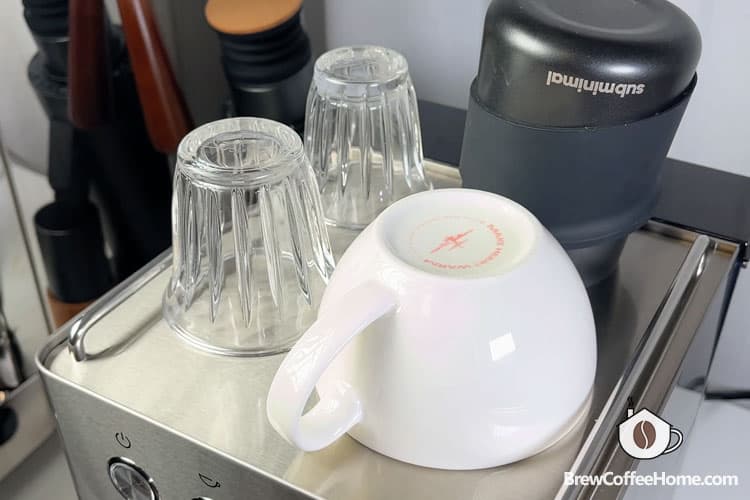
And the cup tray on top is large enough to hold several cups—practical if you have a lot of espresso tools like I do. However, it won’t get very hot, so don’t expect it to prewarm your cups efficiently.
For an entry-level machine, the build quality is impressive. At this price point, it’s a solid choice that seems like it will hold up well over time.
How It Works
The control panel is straightforward, has just four buttons—nothing too complicated.
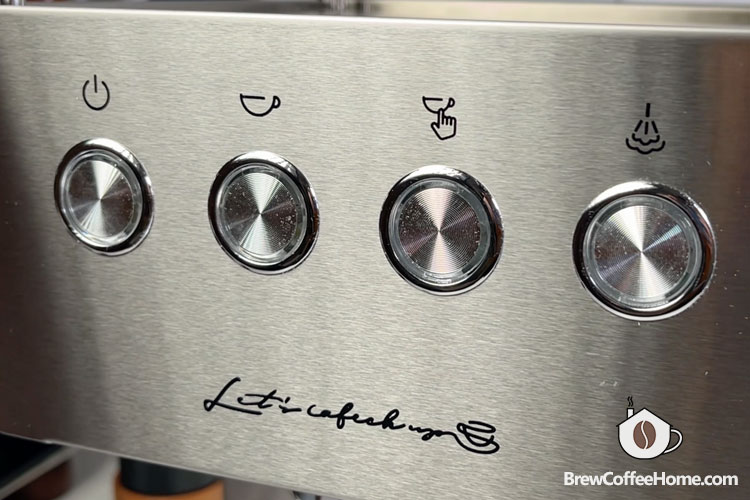
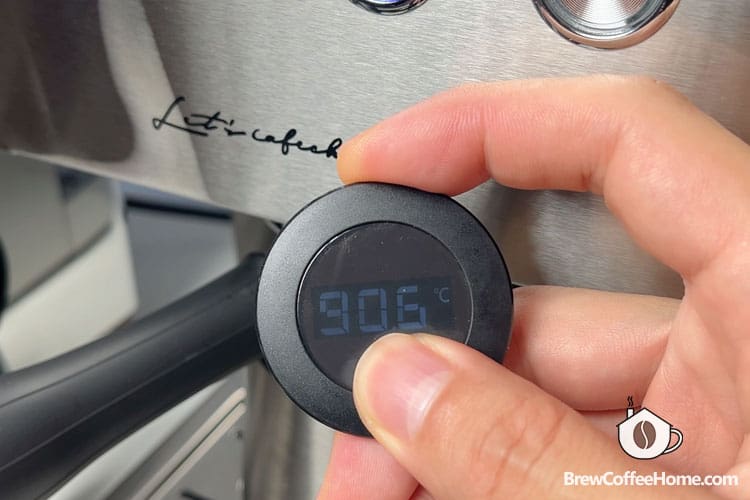
To use the Gemilai G3005E, press the power button, and the machine will automatically start heating up. The middle lights will flash for about 40 seconds and stop, but I recommend waiting an additional 3 to 5 minutes for the machine to reach a more stable brew temperature.
During my tests, the water coming out of the group head was around 90 degrees Celsius, and the temperature in the basket should be even higher.
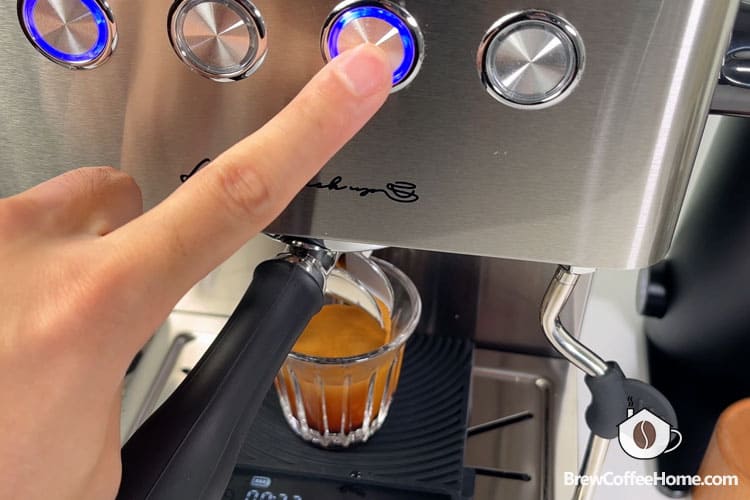
The second button is for automatic brewing, with the factory setting programmed for a 25-second extraction. You can press and hold this button to customize the brewing time—just release it when you’ve reached your desired volume.
If needed, you can reset to the factory settings by pressing the second and fourth buttons together.
Personally, I prefer using a scale to measure the actual volume and stopping the extraction manually; it’s more precise and straightforward. This method allows for better control over your shot, ensuring you get the exact brew you’re aiming for.
The machine also features a pre-infusion function, which wets the coffee puck with a bit of water before applying higher pressure for extraction. However, I’ve noticed that the pre-infusion time is quite short, I don’t think it’s long enough to effectively wet the puck.
Brewing Espresso
I used the included double shot basket to pull multiple shots and check out its performance. Since it’s a non-pressurized basket, it’s very sensitive to grind size, so having a good grinder is essential for dialing in the grind accordingly.
Before brewing, I recommend pulling a plain shot with hot water to pre-warm the brew head and portafilter. This simple step helps ensure that your espresso will come out at the right temperature.
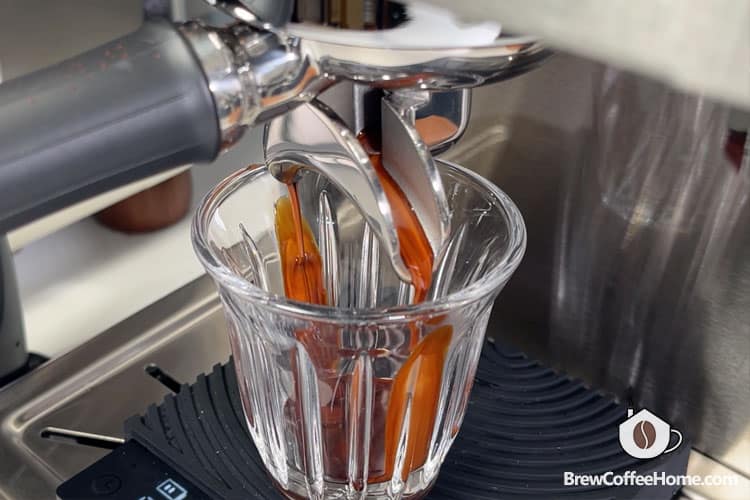
The double basket holds about 18 grams of coffee, and I used this amount, aiming for 36 grams of espresso in 20-25 seconds—a traditional double shot.
The resulting espresso was syrupy with rich crema, and thanks to the thorough preheating, the coffee came out hot—not lukewarm.
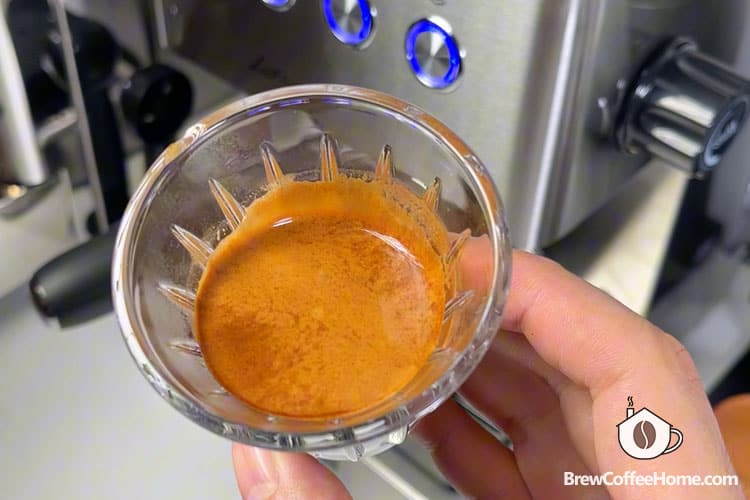
With espresso of this quality, I can easily make my favorite iced Americano at home without needing to visit a café.
Steaming Milk
It has a thermoblock to heat up the water, so you can’t brew and steam at the same time. After brewing your coffee, press the steam button. It takes about 30 seconds to reach the steaming temperature.
As an entry-level machine, the steam pressure isn’t very strong, but it’s sufficient for frothing milk and practicing latte art.
It takes some practice to get the silky milk froth. Once the steam is ready, open the steam wand to purge out any water, ensuring you get dry steam.
Always start with cold milk. Insert the steam wand into the spout of the milk pitcher, tilting it to either the 3 or 9 o’clock position.
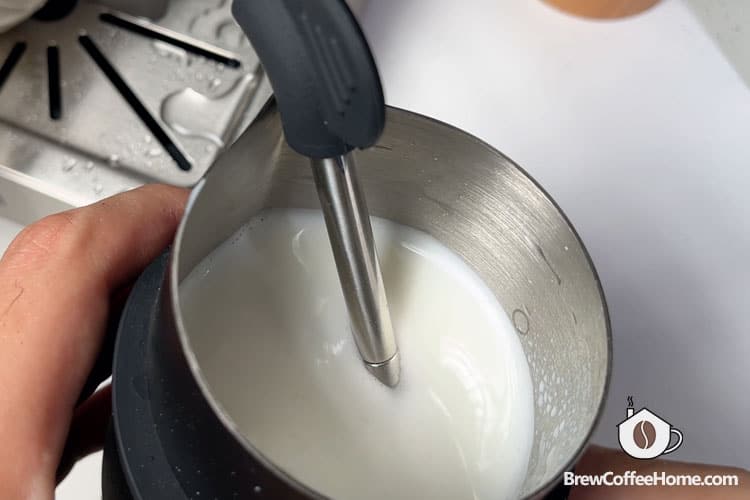
Turn on the steam, and during the first phase, keep the tip just below the milk’s surface. You should hear a hissing sound, indicating that foam is being created, and you’ll see the milk rising.
When the milk reaches your desired thickness, lower the steam wand slightly to start incorporating the foam. Gently adjust the wand position to find the sweet spot where the milk is swirling, creating a vortex.
Keep this going until the milk pitcher feels hot to the touch, which is around 60°C.
After frothing, remember to wipe the steam wand and purge it with steam to clean off any milk residue.
The milk froth should be smooth and silky. I usually like to pour the milk into another pitcher before attempting latte art.
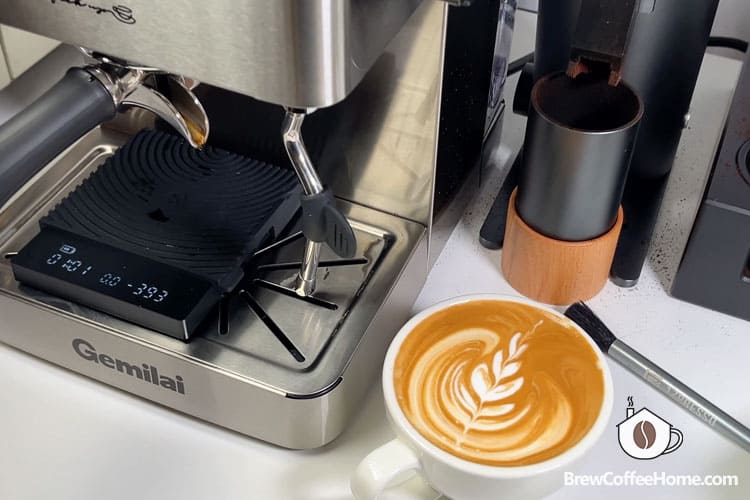
While my latte art skills could use some improvement, this machine provides the microfoam and steam pressure needed for practice.
Maintenance
As I mentioned earlier, the Gemilai G3005E has a 3-way solenoid valve.
After pulling a shot, the pressure in the filter basket is released, so the used puck is relatively dry and comes out easily with a light tap.
After about a week of use, it’s a good idea to backflush the machine to keep it clean.
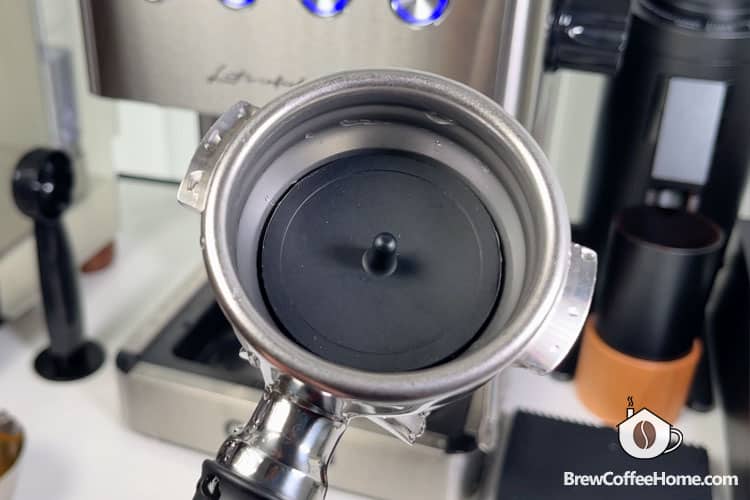
Simply place the cleaning disk in the filter basket, lock in the portafilter, and turn on the brew button. Let the water run for about 10 seconds, then stop. The dirty water will flow directly into the drip tray from the drainage outlet. Repeat this process four or five times, and your machine will be clean.
There isn’t much else you need to do for maintenance—just make sure to descale regularly according to the manual.
Final Thoughts
That’s my hands-on review of the Gemilai G3005E. Priced around $300, this machine falls into the entry-level range, but it’s well-built and easy to use.
Compared to similar competitors like the HiBrew H10A, the G3005E lacks some customization options. However, for most beginners, adjusting too many parameters can be confusing.
This machine is simple to use and durable, which reminds me of the Gaggia Classic Pro and other classic models.
All you need is a decent grinder to dial in the optimal grind size for your shot, and you’ll be set to practice your coffee-making skills at home.

