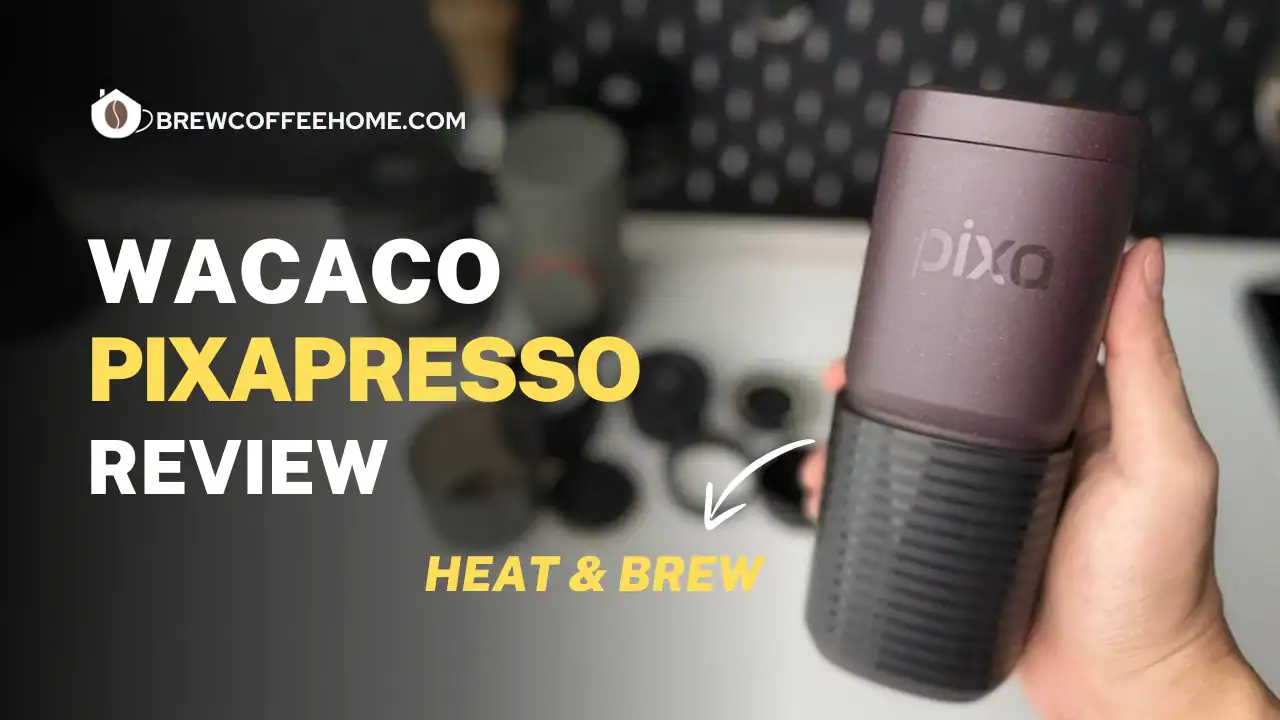
Wacaco built its name on manual pump machines like the Picopresso and Minipresso, and the Pixapresso is their first step into electric, heat-and-brew territory. It also comes in noticeably cheaper than premium options like the MHW-3Bomber X-Press 58 or IKAPE K2 Pro I reviewed before.
I’ve been using the Pixapresso for over a month, running different tests and pulling a few dozen shots, so this review is based on real, regular use rather than just a weekend tryout.
Unboxing and What’s Included
The unboxing experience feels solid, and the kit is pretty complete. Inside the box you get:
- Main machine body
- Large cup and small cup
- Dual adapter for ground coffee and Nespresso capsules
- Scoop that also works as a tamper
- Dosing ring
- Cleaning brush
- USB-C charging cable
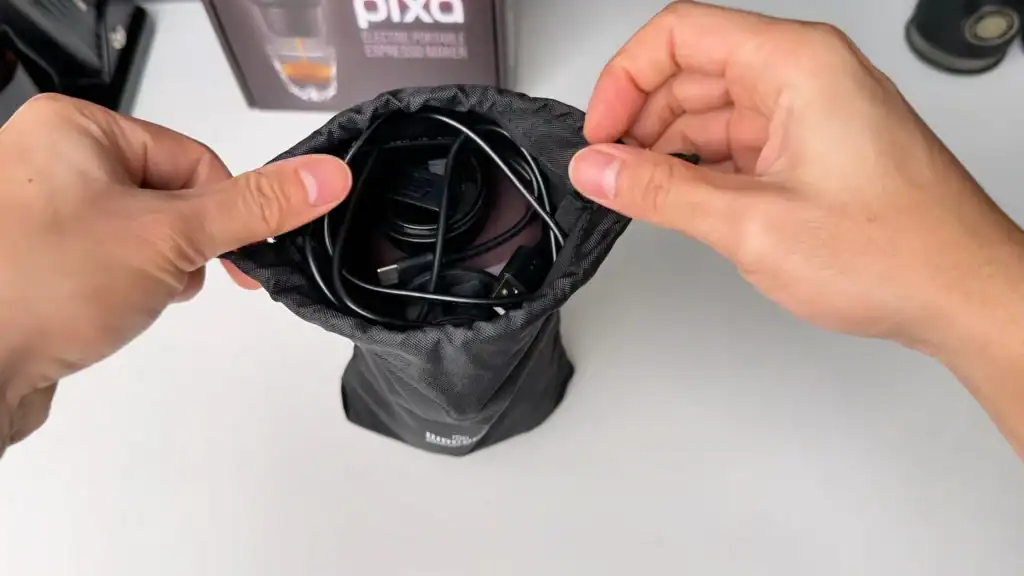
- Water-resistant storage bag
Most of the accessories can be stored inside the machine, which makes it very easy to pack for trips.

The included bag fits everything, but there’s no divider inside, so it’s more of a simple pouch than an organized case. If you want more structure and protection, Wacaco also sells a hard case separately on their site.
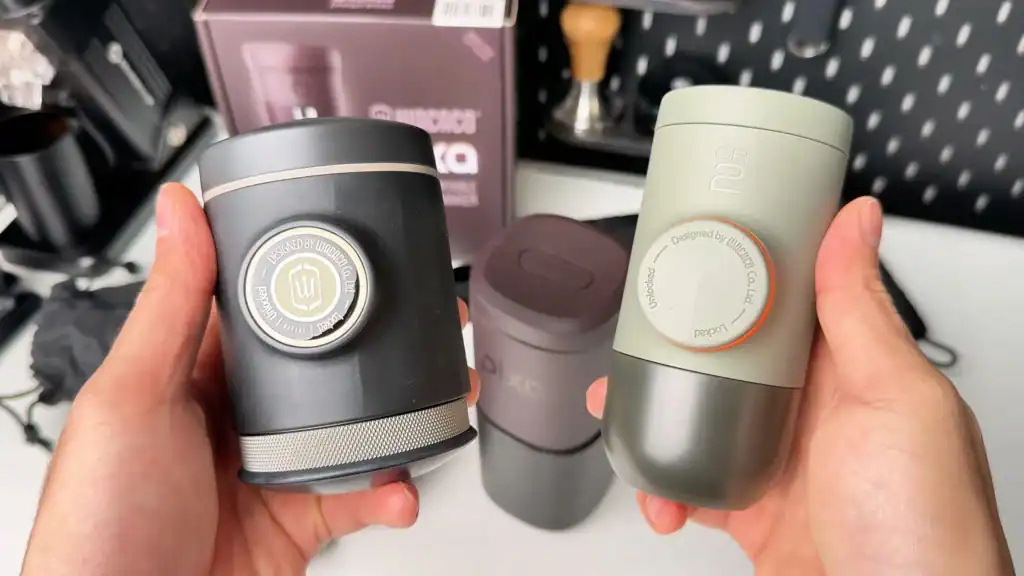
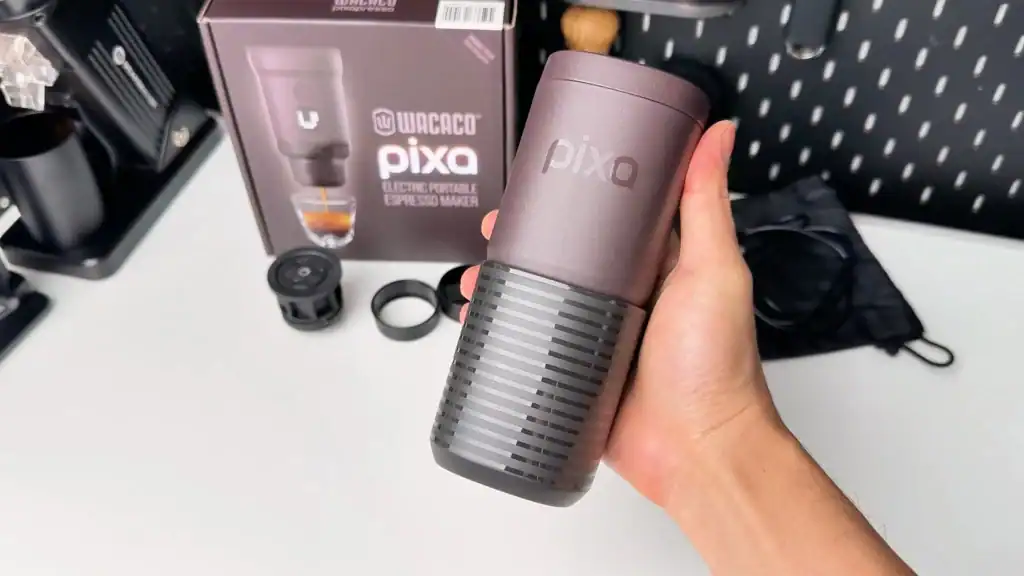
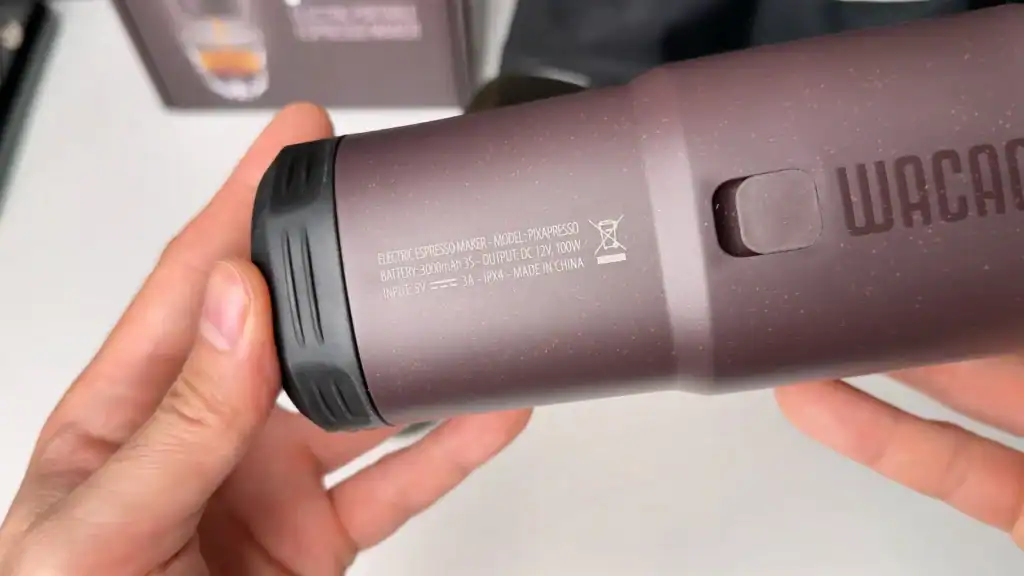
Design and Build Quality
I went with the darker color, which actually looks a bit lighter in real life than in the official photos, with some subtle sparkle in the finish.

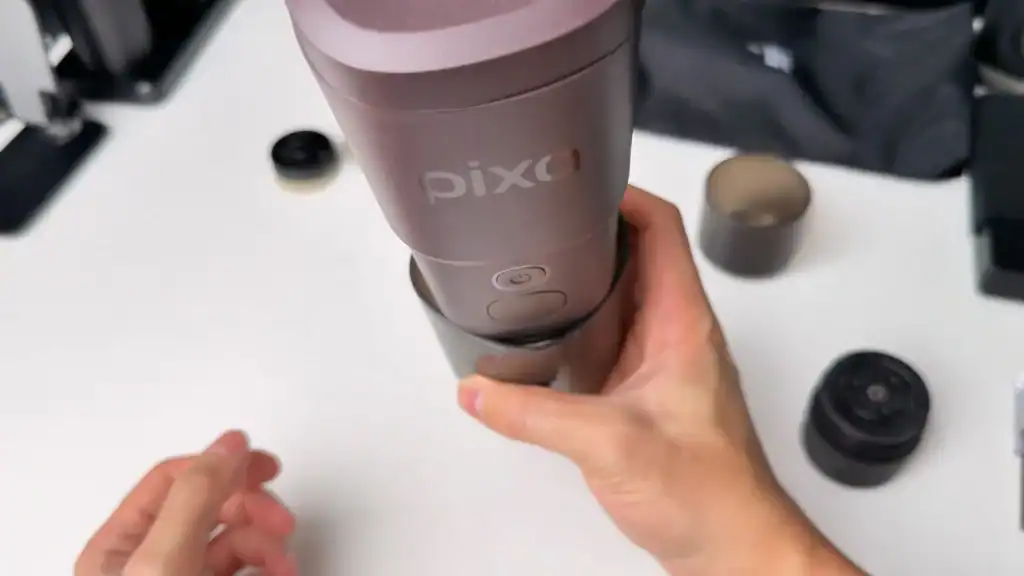
Unlike most round portable espresso makers, the Pixapresso has a more squared-off body that feels surprisingly comfortable in the hand.
The shell is plastic, but the inner water tank is stainless steel, with markings at 35, 55, 80, and 120 ml. Most other heat-and-brew portable machines top out at around 80 ml, so the Pixapresso’s tank is on the larger side.

With the ground coffee adapter attached, the whole setup comes in at around 780 g, which is still very manageable to carry around.
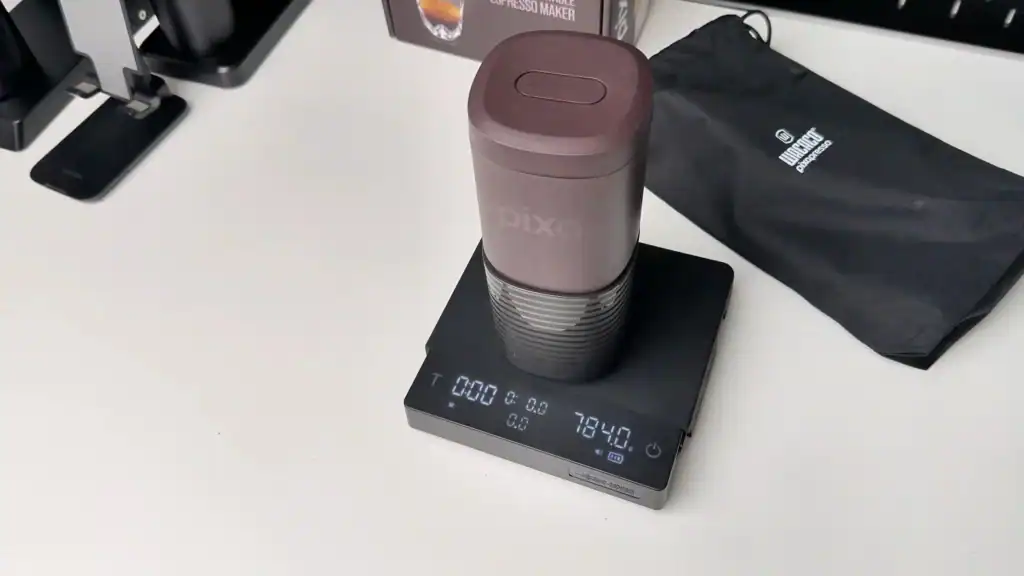
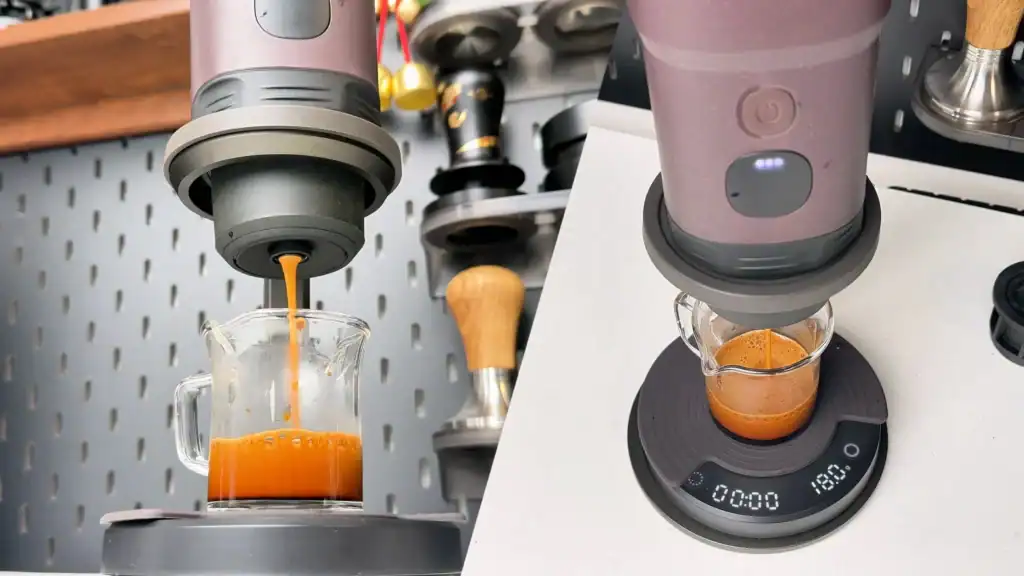
Because of the square design, you can rotate the included cup 45 degrees and lock it onto the body like a built-in stand, so you don’t need an extra stand or to hold the machine while it’s brewing.
Overall, the build quality is in line with the other Wacaco products I’ve used before, though since this is a device that heats water, I do wish it used a bit more metal and a bit less plastic.
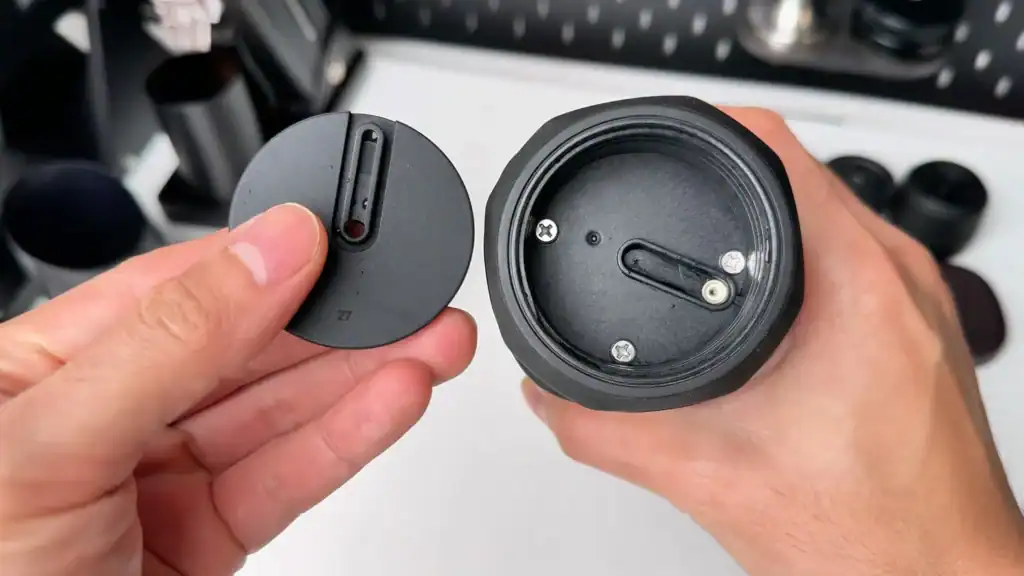
The Smart Basket System
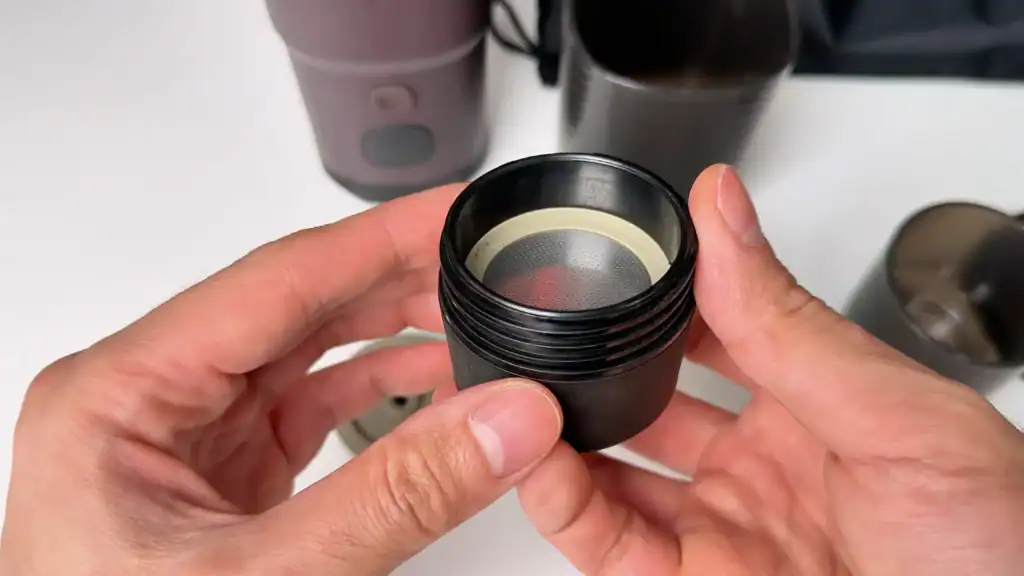
The basket system is where Wacaco got quite clever. There’s an 8 g spacer at the bottom of the basket:
- Leave the spacer in and you get roughly an 8 g capacity
- Remove the spacer and you can fit up to 16 g of coffee
I’ve seen this design on the Minipresso I reviewed previously, and it’s genuinely practical—one basket handles different doses. Other products, like the OutIn Nano, need an extra “Basket Plus” upgrade if you want more capacity.
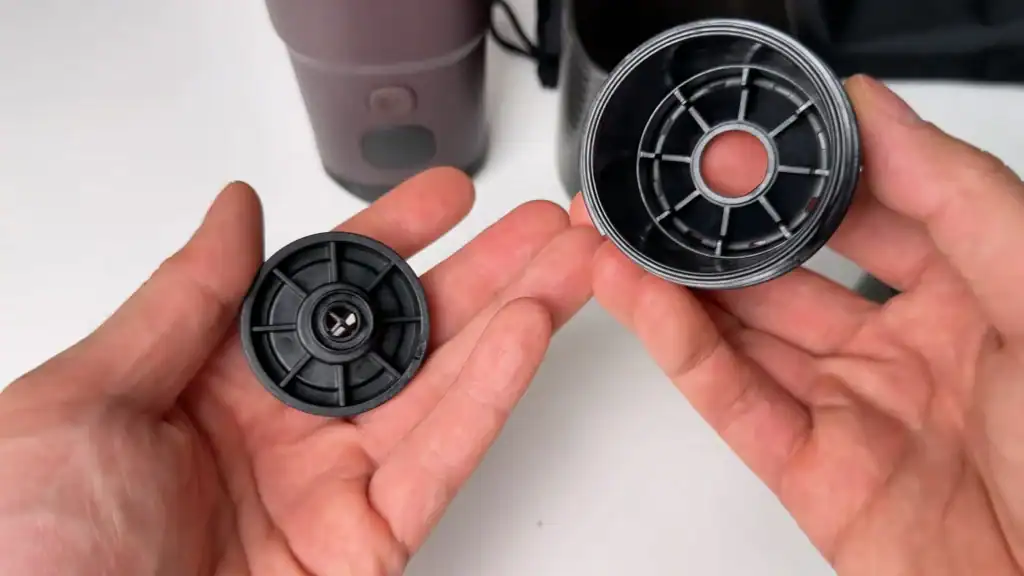
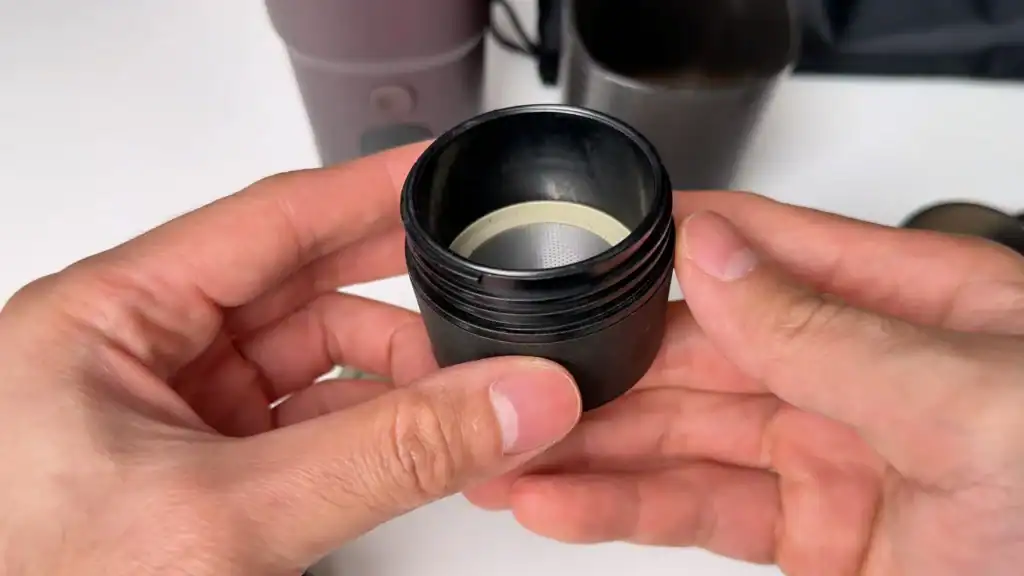
The basket is pressurized by default, and you can fully disassemble it. Twist off the bottom and you’ll find a spring inside—this spring creates secondary pressurization and gives you thick crema even with coarser pre-ground coffee.
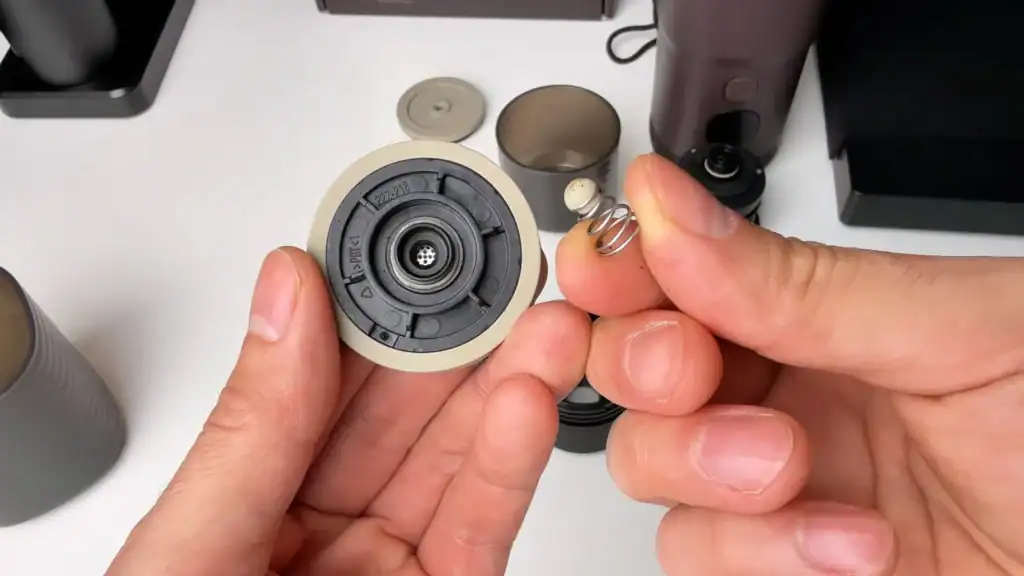
If you take the spring out, it basically turns into a non-pressurized basket, letting you use finer grinds and chase a more traditional espresso-style extraction.
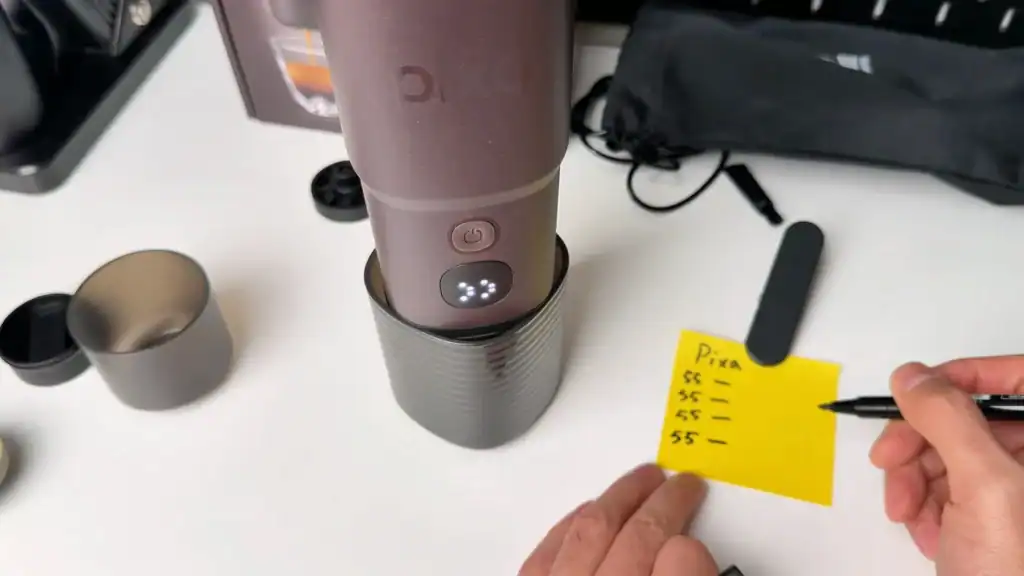
Interface and Controls
The Pixapresso uses a mix of physical buttons and a touchscreen, and it even greets you with a little smiley face when you power it on, which is kinda cute.
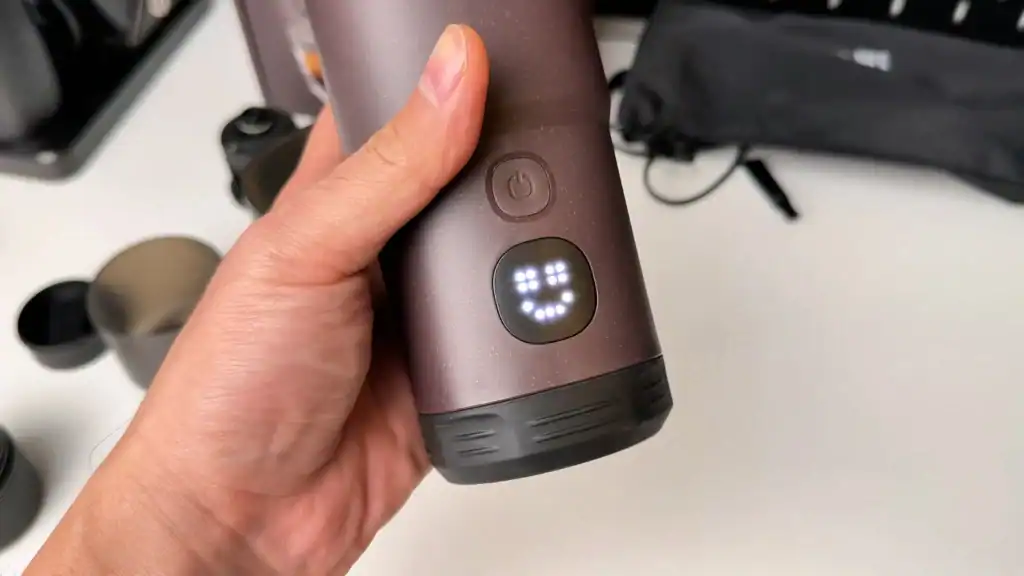
The first time you use it, all the icons and options can feel like a lot, but after a few sessions you’ll get used to it pretty quickly.
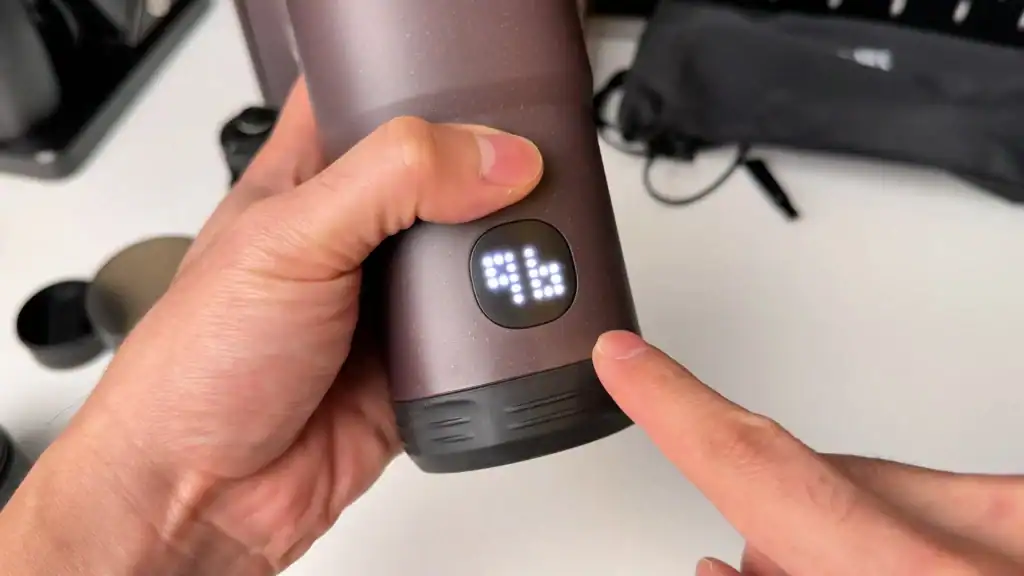
The logic is simple: you use the touchscreen to cycle through different menus, and the physical button to change the setting within the selected menu. That’s it. You can adjust:
- Cup size (from ristretto to lungo)
- Heat-only mode (just heating, no brewing)
- Brew-only mode (just pumping, no heating)
- Battery level
- Beep sound on/off
- Pre-infusion on/off (I basically keep this on all the time)
- Three temperature levels: 88°C, 92°C, and 96°C
- Celsius/Fahrenheit toggle
The three preset temperatures are quite sensible: 88°C works well for most Nespresso capsules, 92°C is great for darker or more intense coffees, and 96°C is ideal when you want a higher extraction, especially with lighter roasts or more complex beans.
Battery Performance: Real-World Use
Inside, there’s a 3,000 mAh battery pack made from three cells in series, giving it enough voltage to both heat and pump. It’s three 3000 mAh cells in series, so you don’t add them up to 9000 mAh — you get 3000 mAh at a higher voltage, which is what this heater-pump setup actually needs.
In my stop-and-go testing, I used 55 g of room-temperature water at around 20°C per shot and logged each brew.
From a full charge, I got:
- 4 full cycles heating the water to 96°C and then brewing
- A 5th shot that only reached around 80°C before brewing
- A pretty much empty battery after that fifth cup
If you start with slightly warmer water or lower the target temperature, getting five full hot shots is very realistic. If you use pre-heated water, the battery is basically just running the pump, and in that scenario it can handle well over a hundred shots.

Charging takes about 2.5 hours with a normal USB-C charger. One important detail: it doesn’t support PD or QC fast charging, so don’t expect super quick top-ups from a laptop or fast charger.

The Replaceable Battery Advantage
One of my favorite design choices is the replaceable battery.
Wacaco provides an official tutorial showing exactly how to swap the battery pack, which means when the battery ages after a few years, the whole machine doesn’t have to go straight to e-waste.
The process is straightforward: pop the back cover, remove three screws, and you can access the battery pack—something most people who are even slightly handy can do themselves.
Among the portable espresso machines I’ve tested, only the HiBREW H4C offers similar repairability, and that really matters if you plan to use the machine for years instead of treating it as disposable.
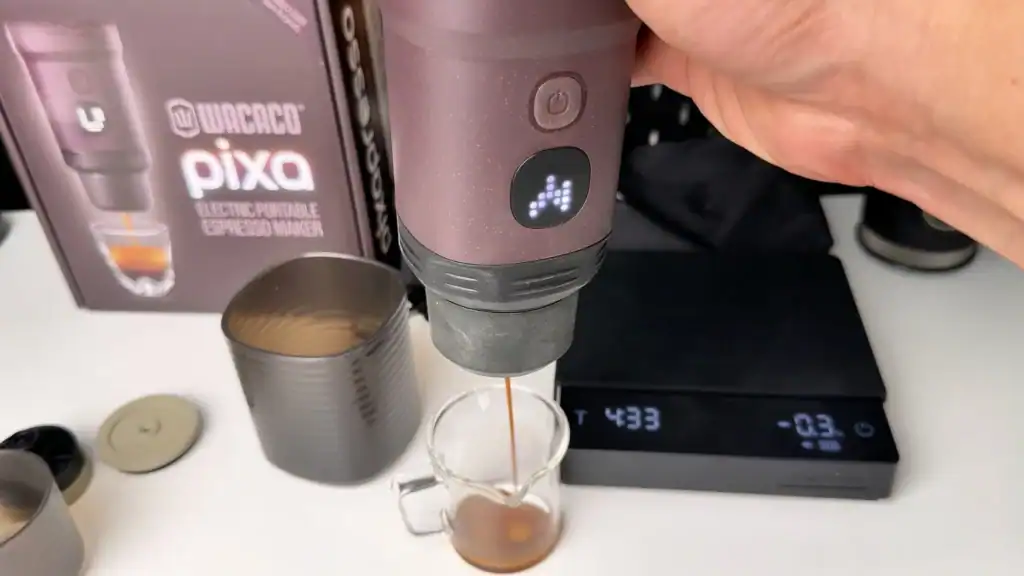
Heating Speed Testing
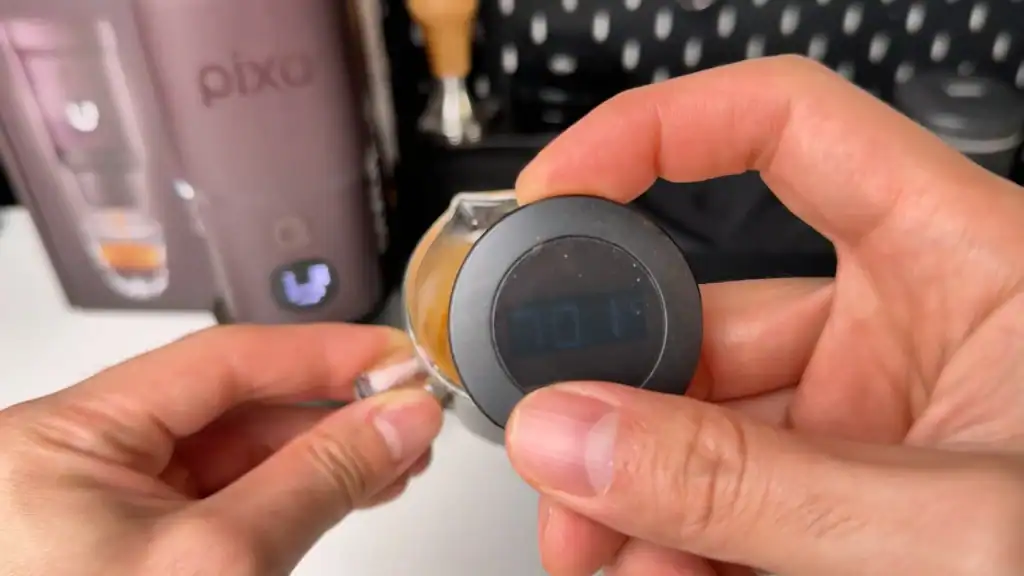
To test heating speed, I used 55 ml of room-temperature water at around 20°C and set the target temperature to 96°C. The touchscreen shows the live temperature as it heats. In my tests, it took about 4 minutes and 30 seconds to reach the set temperature, at which point the machine automatically starts brewing.
If you start with warmer water—around 28°C—and set the temperature to 92°C, heating time drops below 4 minutes. In a typical outdoor scenario, from room-temperature water to a finished cup, you’re realistically looking at about 5 minutes total.
Brewing with Nespresso Capsules
The Pixapresso supports original Nespresso capsules using the included adapter. Because it has pre-infusion and allows you to control both water volume and temperature, it’s actually more flexible than some dedicated Nespresso machines.
The capsule shots I pulled landed at around 70°C in the cup, which feels comfortably hot rather than lukewarm. When you’re outdoors and just want a quick caffeine boost without dealing with grinding and puck prep, capsule mode is easily the most convenient option.

Ground Coffee Workflow and Performance
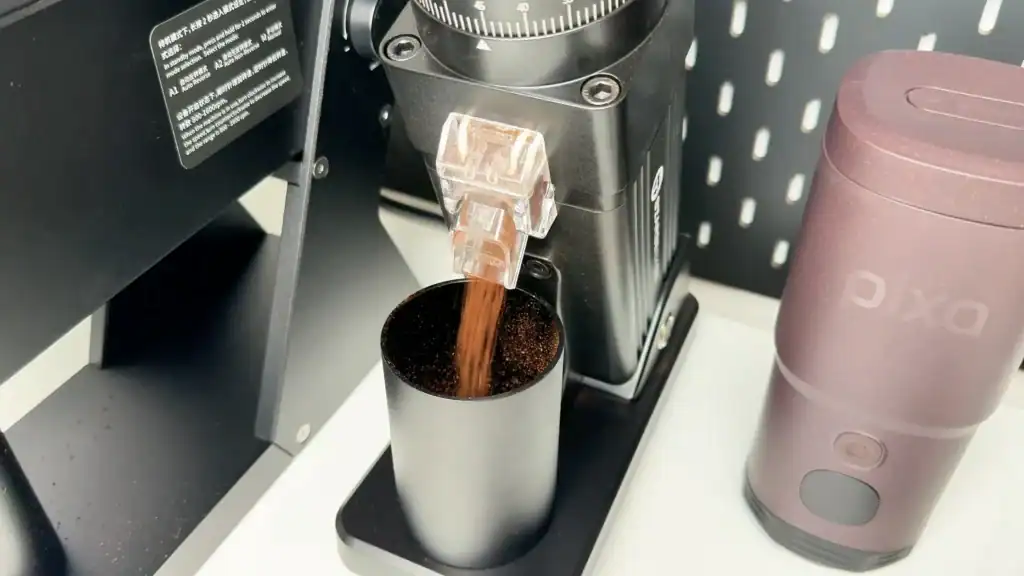
Here’s my typical workflow when using ground coffee:
- Weigh 16 g of beans
- Grind a bit coarser than for my home espresso machine
- Use the pressurized stock basket, which isn’t super picky about grind size but can clog if you go too fine
- For testing, I used my Starseeker E55 Pro grinder
On my home espresso machine, I normally use grind setting 32; for the Pixapresso I go to 45. That means even pre-ground coffee will usually work fine.
I pour the grounds into the basket with the dosing ring attached. This is where one small annoyance shows up: you have to remove the dosing ring before tamping, and that’s when grounds easily spill over the edge. If the ring were designed to sit on the outside of the basket so you could tamp through it, the workflow would feel much smoother.
After tamping, I brush away any stray grounds from the rim to protect the seal, then screw the basket back onto the machine. In my tests, to get about 36 g of espresso in the cup, I needed to add roughly 60–70 ml of water, because the coffee absorbs some of it. So in practice, I usually fill the tank to just under the 80 ml mark and select the double shot setting.
Even when I start with hot water, it cools quickly once it hits the tank, so I still prefer to use the heat-and-brew mode to keep the extraction temperature stable.
Pressurized vs Non-Pressurized Results
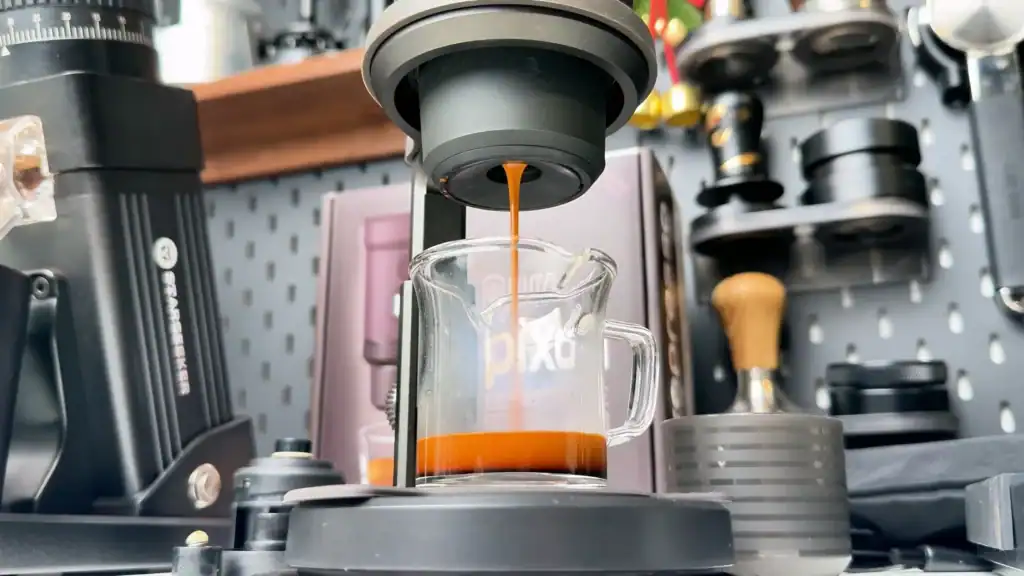
The pressurized basket’s main advantage is that it doesn’t rely purely on the puck’s resistance. Even if your grind isn’t perfect, you’ll still get a visually satisfying layer of crema, although it tends to be made up of smaller bubbles. This is especially handy outdoors, where you might not have the time, tools, or battery life to dial in grind size perfectly. It’s also more forgiving for beginners.
If you want to push quality further, you can twist off the bottom, remove the internal spring, and effectively convert it into a non-pressurized basket.
With freshly roasted beans and the same fine grind I use on my home espresso machine, the extraction then depends entirely on the puck. Flow speed becomes more “classic espresso”, the liquid looks thicker and more syrupy, the crema gets denser, and the flavor profile moves much closer to what you’d expect from a traditional machine.
That said, for actual outdoor use, I usually put convenience first and keep the spring in. The nice part is that you get both options in one machine, so you can choose depending on whether you’re in “quick coffee” mode or “let’s dial this in” mode.
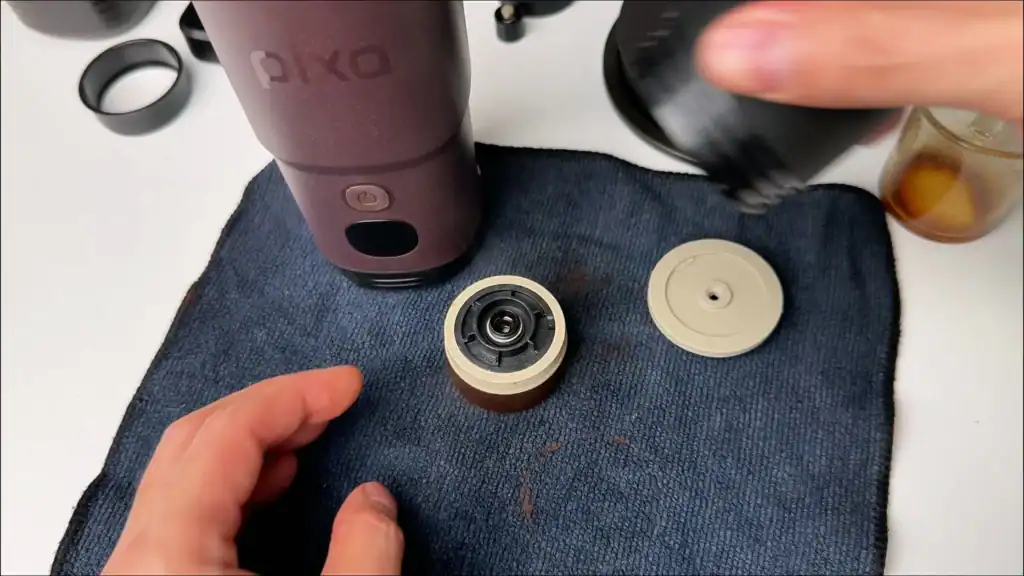
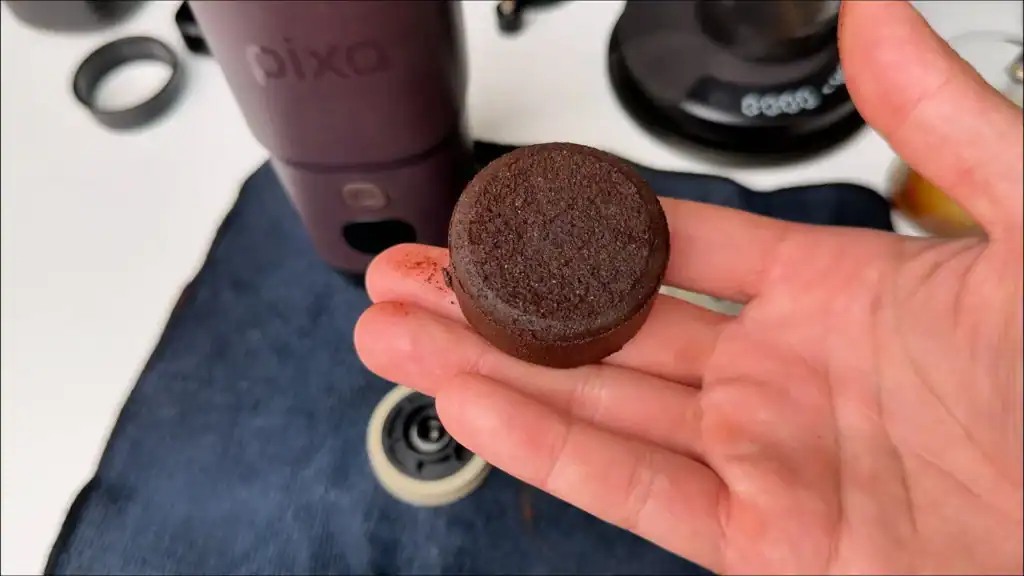
Cleaning Process
Cleaning is genuinely well thought out. After brewing, you don’t have to keep banging the basket like a portafilter. Instead, you press the bottom of the basket and the filter screen plus the puck pop out together as a neat, solid coffee puck. You can toss it out and rinse the basket and holder with water.
The main body isn’t designed to be rinsed under running water, so you need to be a bit careful around the electronics. If you use very fine grinds, some coffee can get stuck in the tiny holes of the filter, so it’s worth occasionally removing the gasket and giving everything a more thorough clean to keep the flow consistent.
Is the Pixapresso Worth It?
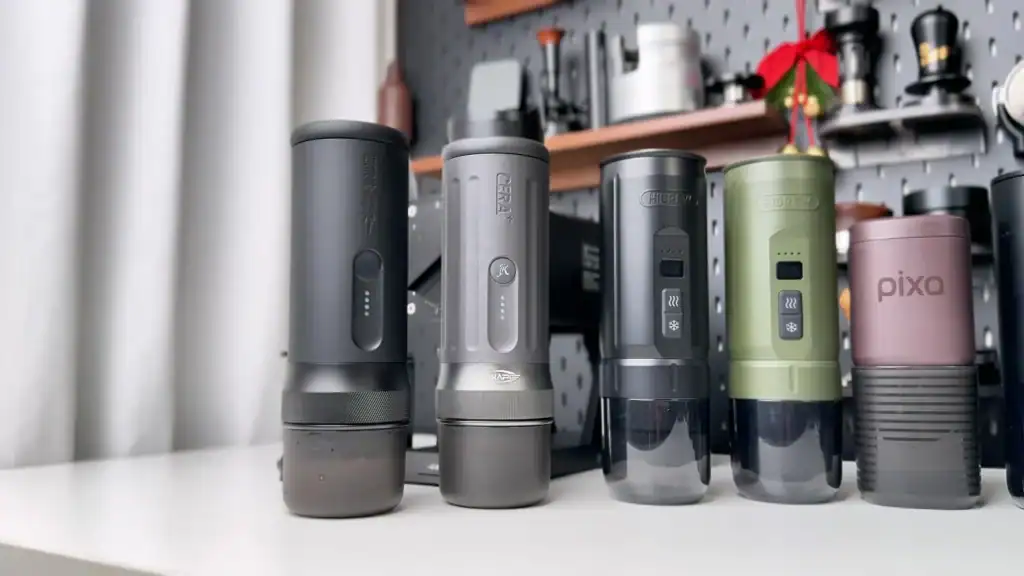
As Wacaco’s first electric, heat-and-brew portable espresso maker, the Pixapresso performs impressively well for a debut. The dual system for capsules and ground coffee, the replaceable battery, and the ability to switch between pressurized and non-pressurized basket setups are all genuinely strong features.
At around 159 USD, it’s noticeably more affordable than the IKAPE K2 Pro and MHW-3Bomber X-Press 58 that I’ve tested, which use larger 58 mm portafilters and sit in a higher price bracket. The trade-off is that the Pixapresso uses a smaller 44 mm system and defaults to a pressurized basket, but for most portable espresso use cases, it delivers very solid value.
The main downsides are that with cold water you’re looking at roughly 4–5 full heat-and-brew shots per charge, and the dosing ring workflow could be smoother. But if you’re specifically looking for a portable espresso maker that can heat its own water, handle both capsules and ground coffee, and still remain relatively compact, the Pixapresso definitely deserves a spot on your shortlist.