
Whether you are a coffee newbie or a veteran barista, mistakes happen. There is nothing more frustrating than using unfit milk for that beautiful latte you are making. Without properly steamed milk, your designs may fall flat.
Fixing your milk steaming mistakes starts with recognizing what they are and learning how to correct them. Below are the top 10 most common milk-steaming mistakes made by young and old. With all these tips, you’ll learn everything you need to know to become a professional!
1. Wrong Steam Wand Placement
The first step in steaming milk is placing the steam wand into your milk pitcher. You probably plunge the wand into the dead center of the milk, right? Not quite. Wand placement creates a vortex in the milk, swirling it in a circular motion.
When we do this, we are injecting air bubbles into the milk. If the wand is in the center of the milk, all of the air will float to the top of the milk. Foam on top means that it separates from the liquid underneath and will not create the delicate, small foam we desire.
The steaming wand is placed right between the center of the milk and the edge of the pitcher. This placement will allow the bubbles to distribute evenly to the bottom of the pitcher. This distribution creates the silky, velvety texture we all love in our lattes.

2. Not Enough Air
This is one of the most common milk frothing mistakes.
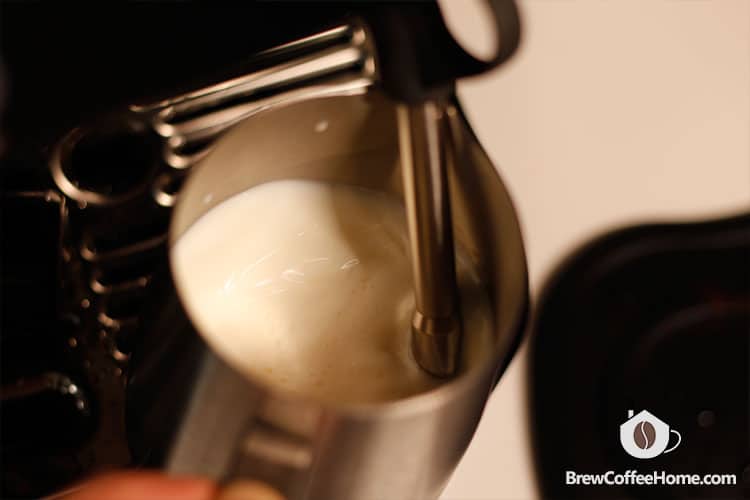
While steaming milk, you first correctly place the steam wand into your milk pitcher. Then comes a process called stretching. Stretching is done by submerging the steam tip of the steam wand under the milk, then slowly moving the pitcher down, expanding the milk by adding air.
You can tell by the sound of the milk steaming if there is enough air. When done correctly, this should sound something like ripping paper. It should not sound like aggressively tearing paper, but ripping paper. You then slowly move the pitcher up to stop the stretching phase and repeat this process until you achieve the desired consistency.
So, next time you are grabbing your coffee, listen for that subtle ripping paper sound!
3. Too Much Air
When too much air gets added to the milk, it will pour out in blobs of foam; not pretty.
It might be hard to tell if you have added too much air to your milk simply by looking at it. Luckily, there is a test to figure out if you have put too much air into the milk.
First, you can check the volume of your milk. After adding air, the milk volume rises in the pitcher, about 1/3 of the increment is ideal. You don’t want to double the volume.
Second, you can tell by the sound. Grab your pitcher of steamed milk and tap it on a hard surface. If there is not enough air, it will have a sharp, metal clinking sound. This sound is because of so much liquid in the pitcher.
If there is too much air in the pitcher, it will sound very hollow. The hollow sound comes from the foam in the pitcher sending the sound vibrations through the foam.
Ideally, the sound coming from tapping your pitcher on a hard surface should be somewhere between the two: a little hollow because of some foam but still have some liquid. You do not want it to be just a big air bubble.

4. Wrong Aerating Time
The time you aerate your milk matters. The milk will react to steaming differently if you steam it directly out of the refrigerator versus if it is steamed after being left out for a while.
To get microfoam fit for latte art, the milk must be aerated while it is still cold. “Cold” is defined as below 100℉.
So how long should you aerate the milk? That depends on the steam pressure of your espresso machine. Some machines in the cafe setting only take only a few seconds, while some home espresso machine takes up to 20 to 30 seconds.
A thermometer is a good way to make sure this happens. When you get more experienced, you can simply test the temperature with your hands.
If you wait to stretch the milk until after it has risen in temperature, you will have large bubbles that will separate from the liquid. If you inject air the whole time, you will have stiff foam.
5. Let the Milk Sit Out Too Long
After working so hard to get the perfect consistency of silky smooth, properly aerated milk, I can just set it on the counter, right? Wrong.
When this is done, the milk frothing foam will separate from the liquid underneath and rise to the top of the pitcher. The milk will not be ideal for pouring latte art. Many single boiler semiautomatic espresso machines for home use can’t pull espresso and steam milk simultaneously. It’s good to make espresso first, then steam milk.
Instead of just setting the pitcher down as soon as we take it off the wand, we have to recreate that vortex. We manually do this by swirling our pitcher by hand and spinning the milk against the walls of the pitcher.
Do not stop spinning the milk until you are ready to pour it into the espresso cup.
6. Too Hot
When heat is introduced to milk, its sugars begin to break down. This breakdown of sugars makes the milk taste much sweeter. Sounds great! You must be careful with the heat, though.
Too much heat can cause the milk to curdle and taste sour. This curdling will ruins the foam and you are not able to pour latte art with it.
The highest the milk should get is 150℉. The ideal final rance is between 130-150℉. Alternative kinds of milk typically tip off at colder temperatures. So keep this in mind next time you are mixing up that almond milk latte!
To reach this high temperature, you must hold the pitcher correctly. Be sure to hold the pitcher’s handle to avoid being burned.
7. Not Grooming The Milk
Grooming refers to all of the little details done to the milk to keep it in tip-top shape. Stirring the milk, tapping out air bubbles, and cleaning up our milk.
When you remove the milk from the steam wand and do not stir or tap the milk, the bubbles left within the milk will destroy parts of your beautiful latte art design.
Spinning the milk not only keeps the vortex going, which redistributes bubbles, but also gives the milk a beautiful shiny, glossy sheen that looks like the melted ice cream texture. These finishing touches will set you apart from all the other baristas around.

8. Underfilling or Overfilling the Pitcher
The goal of stretching or aerating milk is to expand the volume by one-third. There are consequences to using too much or too little milk for your pitcher size.
Too much milk results in not enough room in your pitcher for the right amount of stretching. This means while you are aerating the milk, your pitcher will overfill, leaving a mess all over your counter. If your pitcher does not overflow, you did not expand your milk enough.
Too little milk in your pitcher, you don’t have enough room for the steam wand to submerge under the surface of the milk. Also because you don’t have enough cold milk, it will reach the optimal milk temperature too quickly before you steam milk perfectly.
It’s good to use a larger pitcher, at least a few ounces larger than the specialty coffee drink you are making, and fill it just below the spout. Make sure you use enough milk. You can also mark the volume so you can replicate it every time you steam milk.

9. Steaming All Milk Types in the Same Way
Not all milk is equal. There is almond milk, rice milk, whole milk, skim milk, half and half, cream, you name it. While all tasty in a drink, you cannot treat them the same.
Each milk has a different fat makeup, sugar makeup, and protein makeup. These differences cause the milk types to steam differently. A higher fat content within the milk will need more aeration time.
Whole milk and Half and half need to agitate for longer than low-fat milk to create foam before submerging the tip under the surface.
If using a non-dairy option, there are barista blend options. They have been formulated to steam as closely to the same way that whole milk steams.

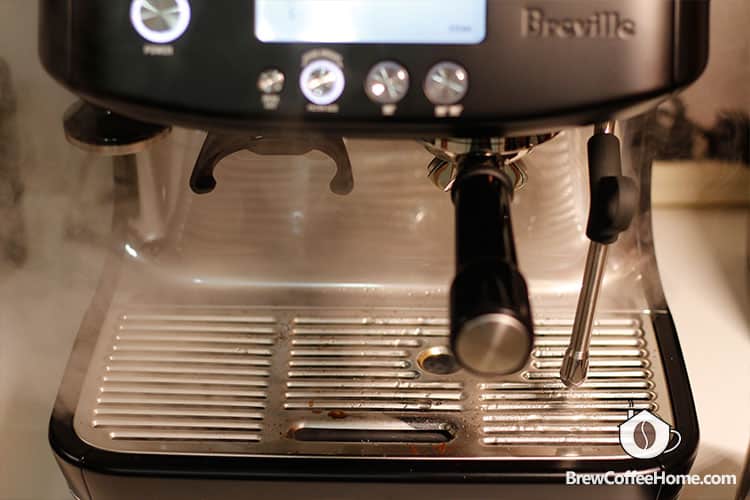
10. Not Purging the Wand Before and After Steaming
The final mistake is easy to fix. It is good to purge your steam wand before and after the milk is steamed. If the steam wand doesn’t get purged after steaming milk, milk can get sucked back up into the steam wand and get stuck.
Stuck milk can get nasty, cake up and clog your steam wand. Gross! If you are using a home machine, you can see a small amount of water coming out before you see the steam.
Be a good coffee steward and purge your steam wand!
Final Thoughts
For coffee lovers of all ages, who enjoy the benefits of this exquisite beverage, fixing these common mistakes will take you to the next level, allowing you to masterfully create latte art with the silkiest, smoothest steamed milk possible.
Do not let air bubbles destroy your design, ungroomed milk spoil your latte, nor badly steamed oat milk make your skills look defeated. Now that you are able to recognize your mistakes and have the tools to fix them, you can improve your skills. Start practicing now and become an expert barista!