
I’ve been testing the Gemilai Ele (model G3028A) for several weeks now, and here’s what caught my attention right away: you can adjust the brew pressure in real time while pulling a shot. That’s something espresso lovers would love to have, especially at this price point.
This is Gemilai’s new mid-range home machine. After pulling dozens of shots and making countless lattes, I can tell you it delivers consistent results once you’ve dialed things in.
Now Open for Pre-Order at $599.99 >> See on Gemilai Official Store
Here is my detailed hands-on review on my YouTube Channel.
What Makes the Gemilai Ele Stand Out
The adjustable OPV is the headline feature here. Most home machines lock you at whatever pressure they’re set to from the factory. This one lets you fine-tune it right to 9 bars or experiment with different pressure profiles during extraction.
But there’s more. The NTC temperature probe for milk steaming stops automatically when it hits your target temperature. None of the previous Gemilai machines I’ve tested had this feature, so it’s a genuine upgrade.
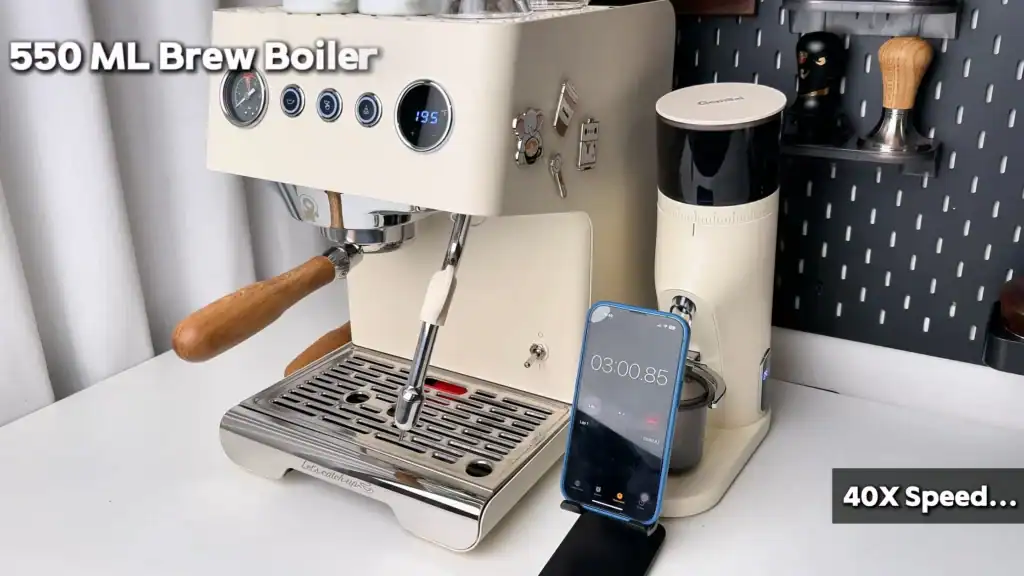
You’re also getting a dual-heating system that’s ready to brew in about 3 minutes. That’s quick for a boiler machine.
What’s in the Box
Gemilai included a solid accessory set this time:
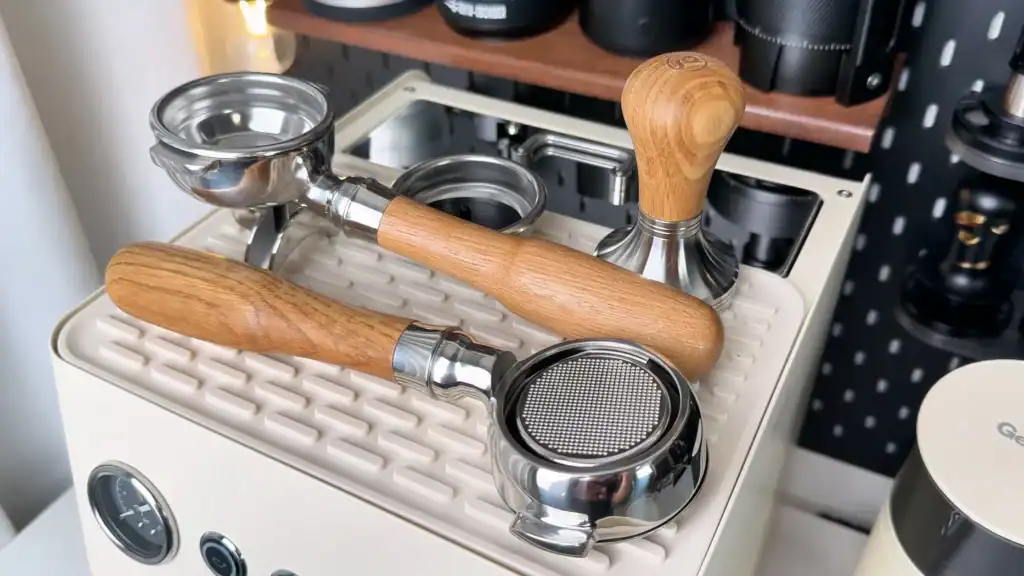
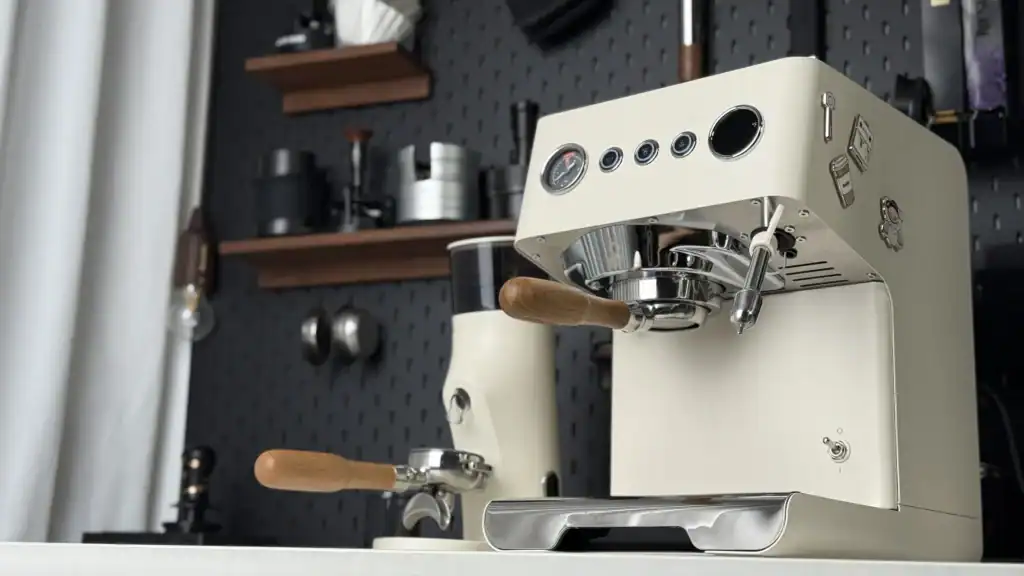
- Two portafilters (spouted and bottomless) with white oak handles
- Tamper with wooden handle and spiral metal base
- Single basket and blind disc
- Cleaning brush
- Non-slip mat for the top
- Pre-sale gift set (milk pitcher and fridge magnets, available until December)
The tamper feels substantial when you press. The bottomless portafilter pairs perfectly with the white body.
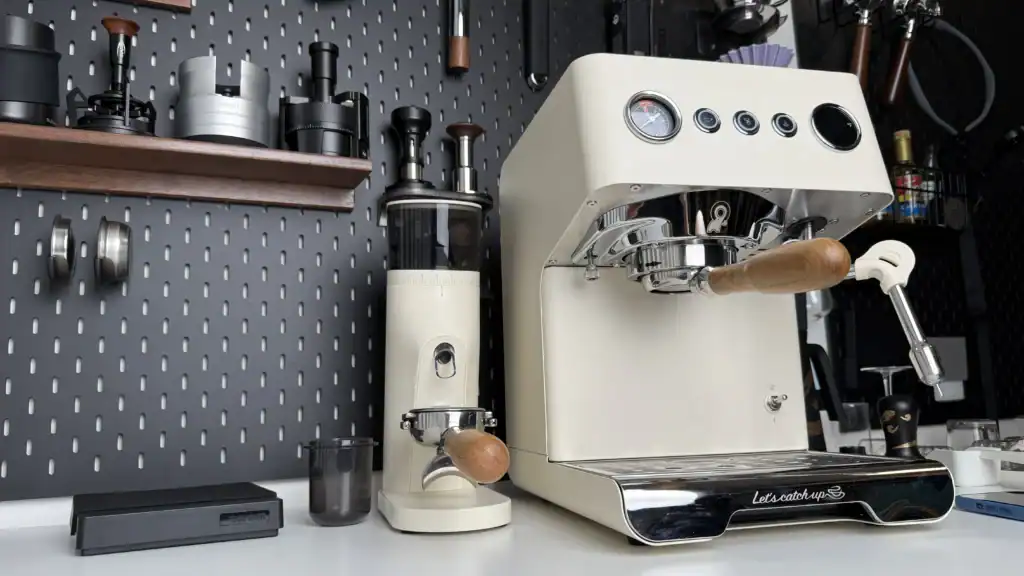
Build Quality and Design
The body’s fully metal with a matte white finish that feels clean and smooth. The front shell is one molded piece with rounded corners and nicely finished edges.
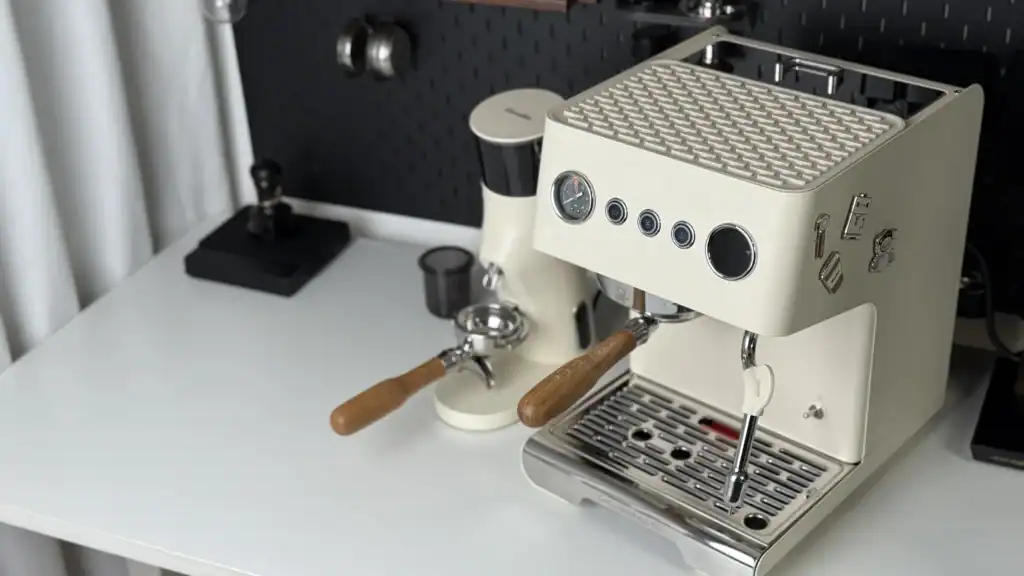
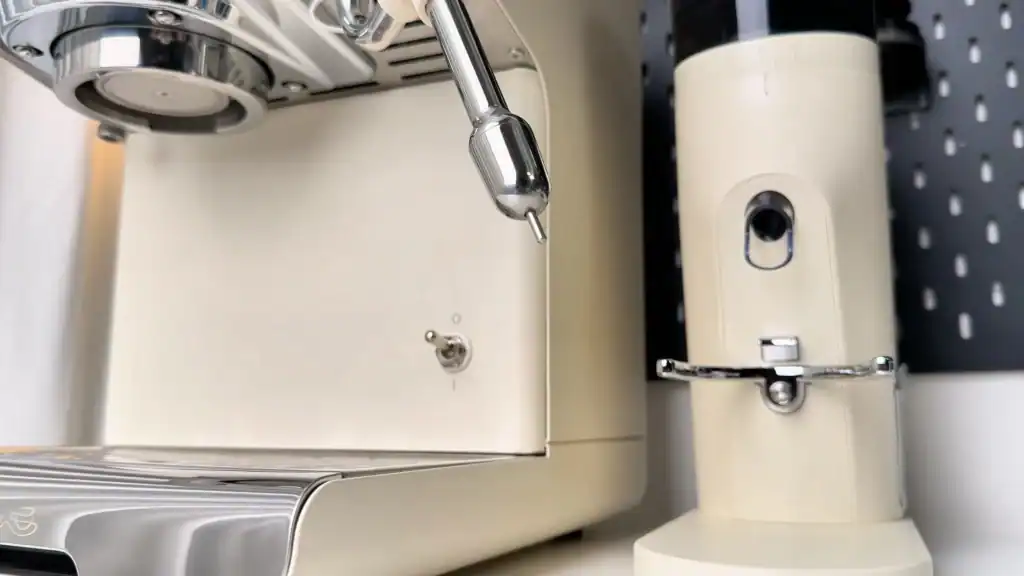
I like the toggle switch for power. It’s the same design as the Gemilai Owl, and it feels simple and satisfying to use. The control panel sits right up front where it’s easy to reach.
The steam wand uses a dual-hole nozzle. The temperature probe tracks milk temperature in real time, which makes consistent microfoam much easier to achieve.
The water tank holds 1.7 liters and sits at the back. It’s easy to remove and refill. The drip tray’s big enough to handle several shots before emptying, and the shiny metal lid keeps everything looking sharp.
Even the back panel has the Gemilai logo, so it looks good from every angle. The whole setup feels compact and well-designed.
Heating System and Performance
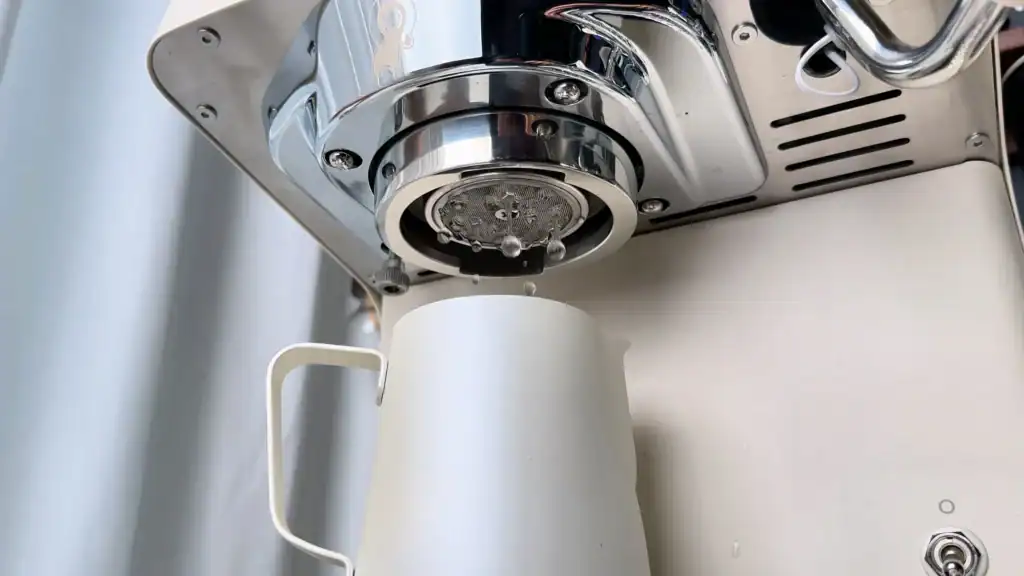
This machine uses dual heating with a 550ml brewing boiler. It takes about 3 minutes to heat up from cold. Once the indicator stops flashing, I flush a little hot water through to warm everything evenly.
The boiler and group head are built together. That means better heat stability across the brew head. I took off the shower screen to check, and everything inside is metal too.
Here’s something to know about the U.S. version: it can’t brew and steam simultaneously. That’s because of the lower voltage. The 220V versions in other markets can do both at once.
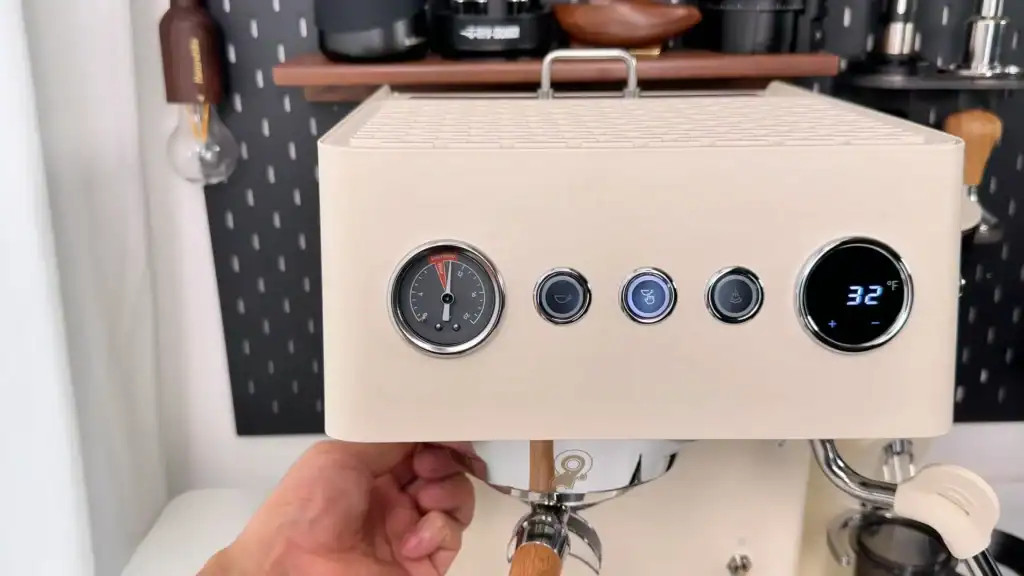
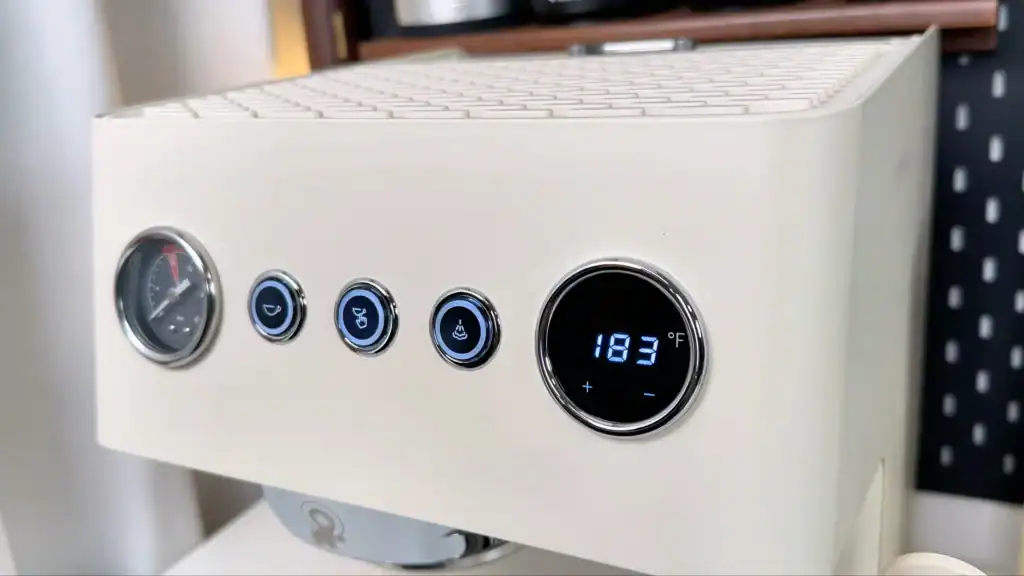
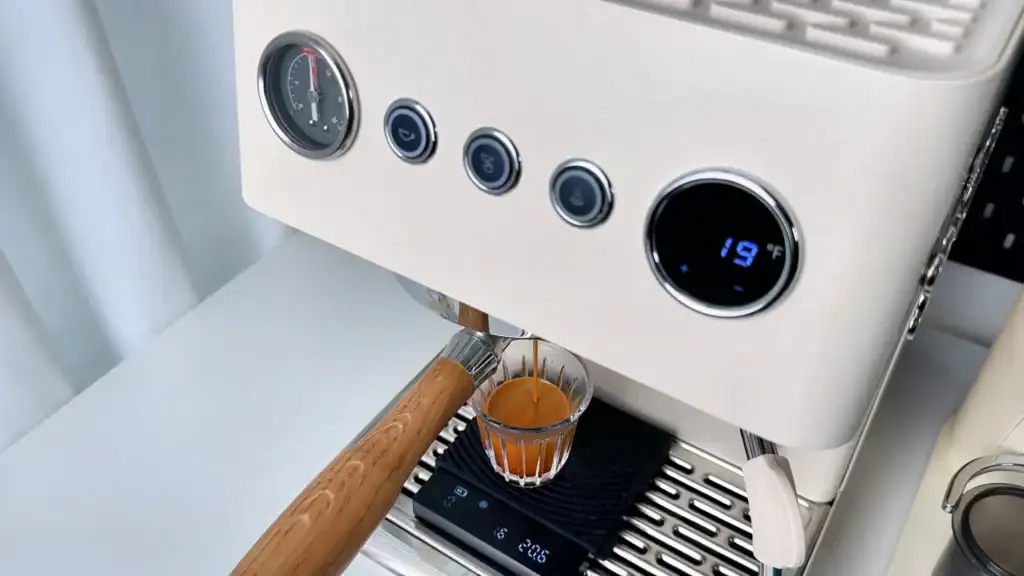
Control Panel and Settings
The controls are straightforward:
- Pressure gauge (left): Shows real-time brew pressure
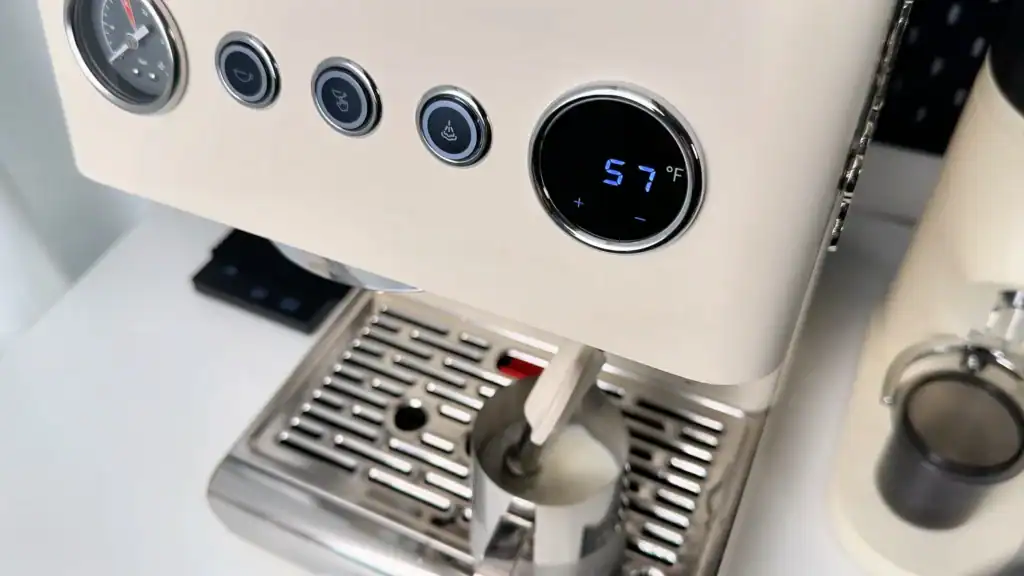
- Three buttons (center): Automatic brew, manual brew, steam mode
- LCD display (right): Current boiler temperature
Hold the plus button to open settings:
- H1: Brew temperature (lower for dark roasts, higher for light)
- H2: Steam temperature (higher for stronger steam)
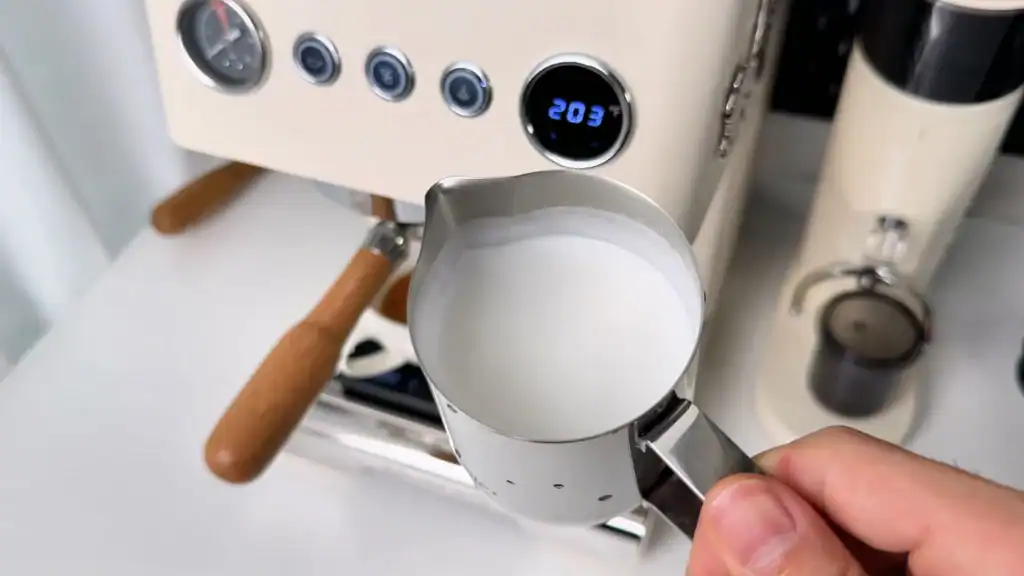
- H3: Target milk temperature for auto steaming
- P1 & P2: Pre-infusion timing (water flow and soak duration)
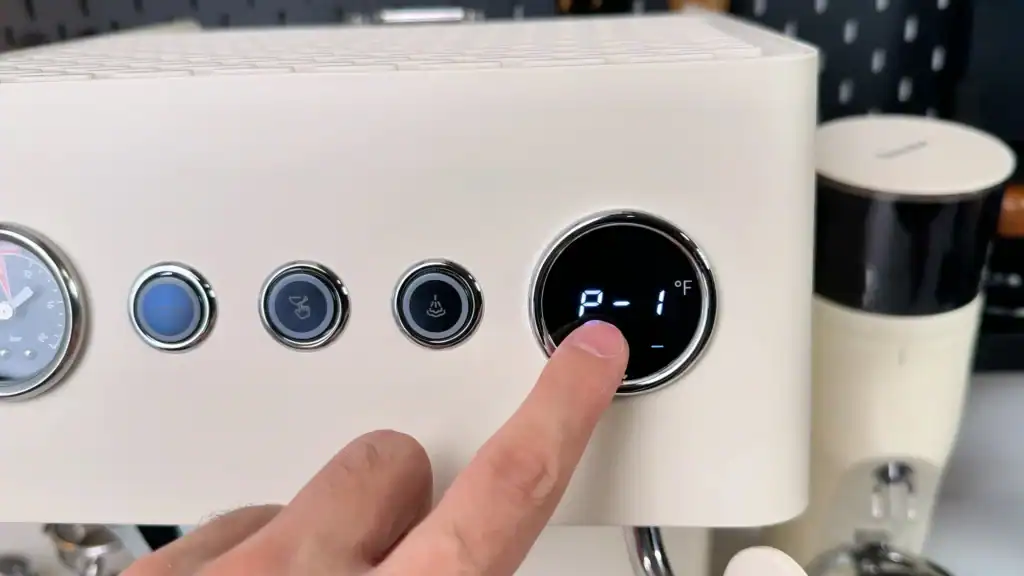
I usually set P1 to 2 seconds and P2 to about 3 seconds. This pre-infusion system fully wets the coffee puck, helps prevent channeling, and makes extraction more stable.
Short tap the plus and minus buttons on standby to switch between automatic (S1) and manual milk steaming. I mostly use S1 because it’s convenient.
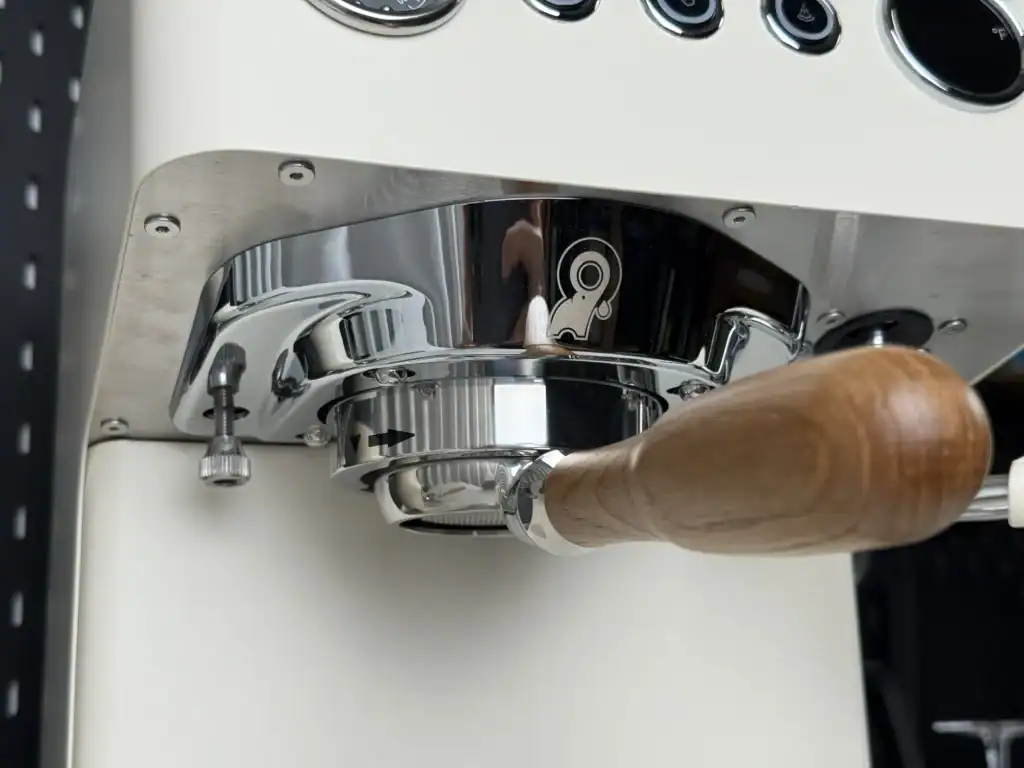
Adjustable OPV: The Real Difference
Next to the group head, you’ll see the adjustable OPV knob. This is what espresso enthusiasts have been asking for.
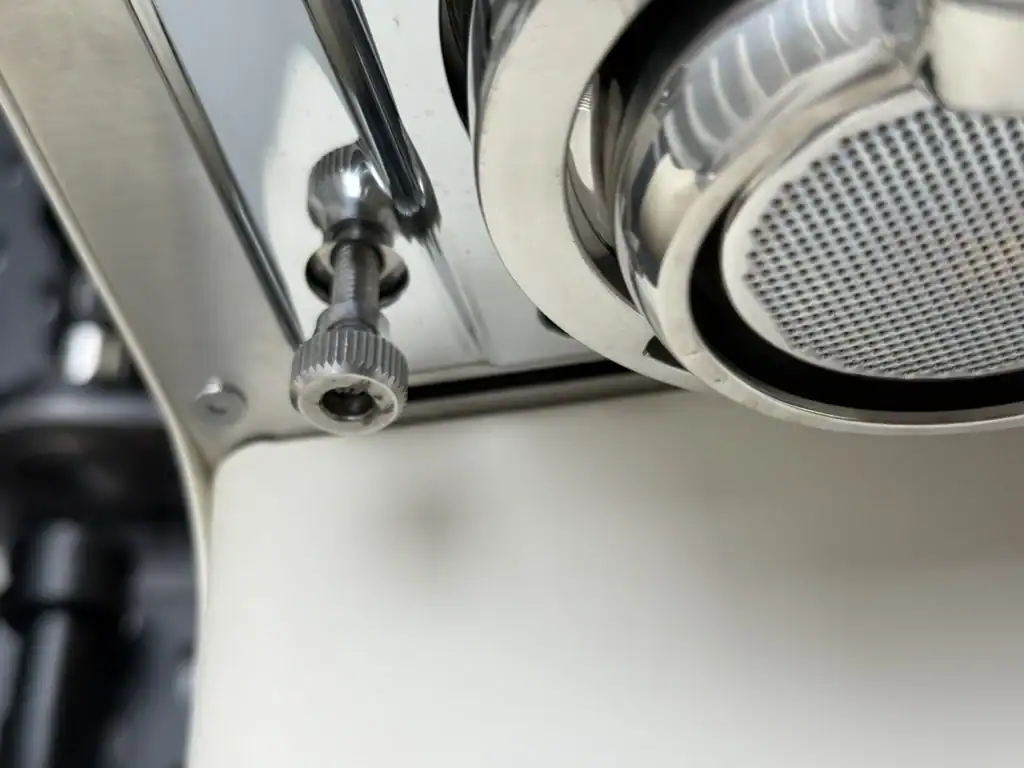
Home machines with vibration pumps can reach pressures higher than 15 bars. Once pressure exceeds what the OPV is set to, it automatically releases the excess. On this machine, you can adjust it in real time.
How to Set Your Brewing Pressure
When you first unbox the machine, set the pressure before dialing in your grind:
- Insert the blind disc
- Lock in the portafilter
- Start the pump and watch the needle rise
- Once it stabilizes, turn the dial to adjust
I don’t set it exactly at 9 bars when using the cleaning disc. I go slightly higher, around 10 to 11 bars. During real brewing, water flows through the coffee puck and pressure naturally drops a bit. This way, your actual shot pressure ends up right around 9 bars.
Espresso Performance
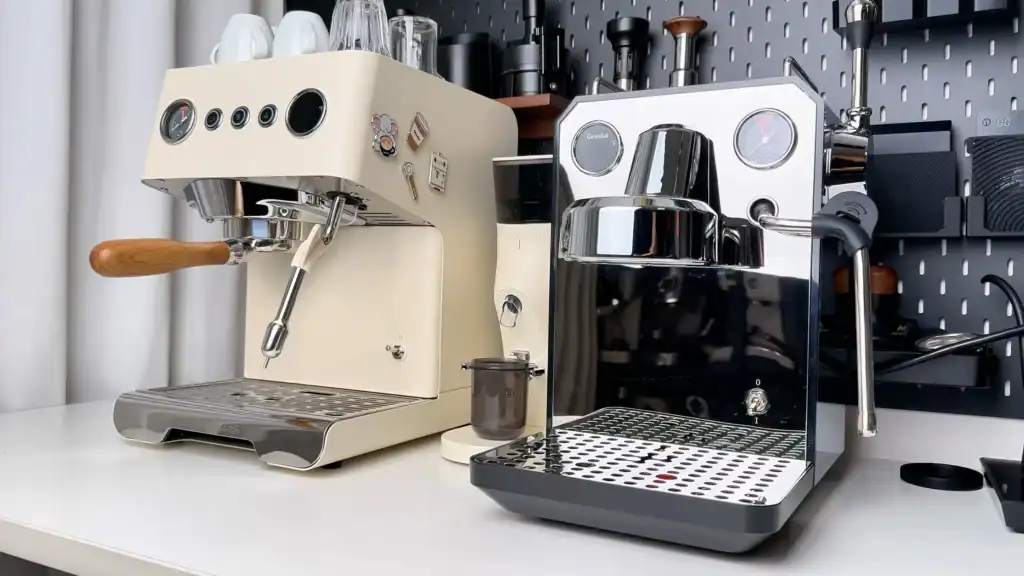
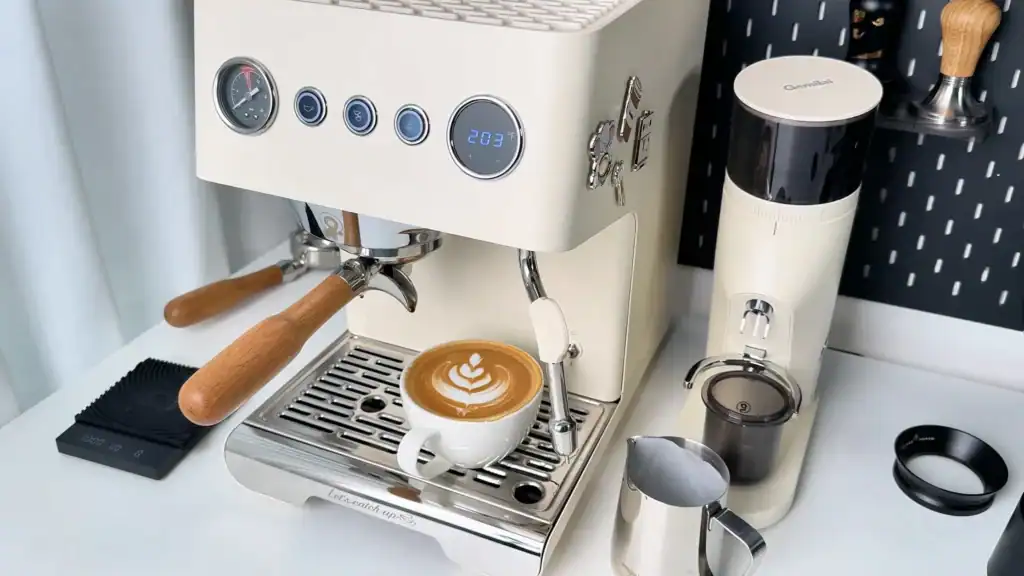
I’ve been pairing this with Gemilai’s Molight grinder. They’re the same color, so they look good together.
For dark roast espresso, I grind coarser, around setting 6. Different beans need different settings, usually between 4 to 6. The Molight grinds fluffy with almost no static, which makes transferring grounds into the basket easy.
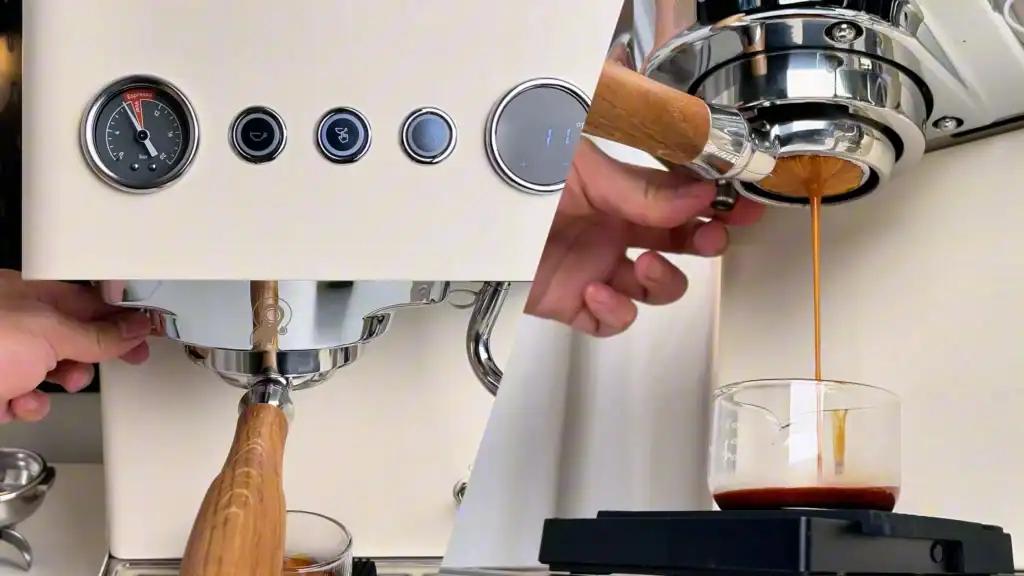
When pulling shots manually, the machine easily holds steady 9-bar pressure. But the adjustable OPV makes things more interesting. You can lower pressure at the start, bring it back to 9 bars in the middle, and drop it again at the end to cut down bitterness.
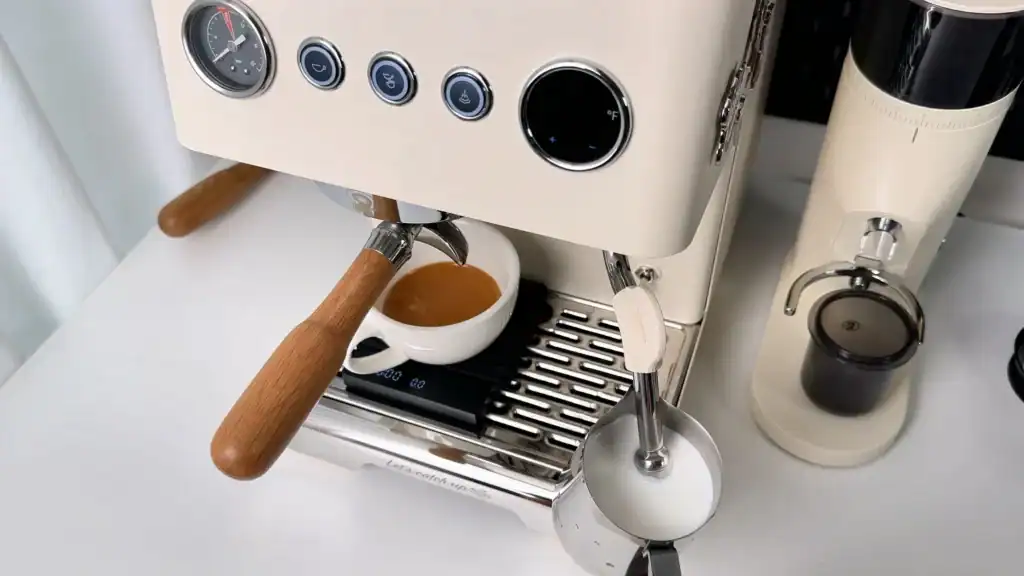
The flow and pressure stay steady from start to finish. With good puck prep, even a bottomless portafilter won’t spray. The crema looks beautiful, and the espresso tastes rich and full.
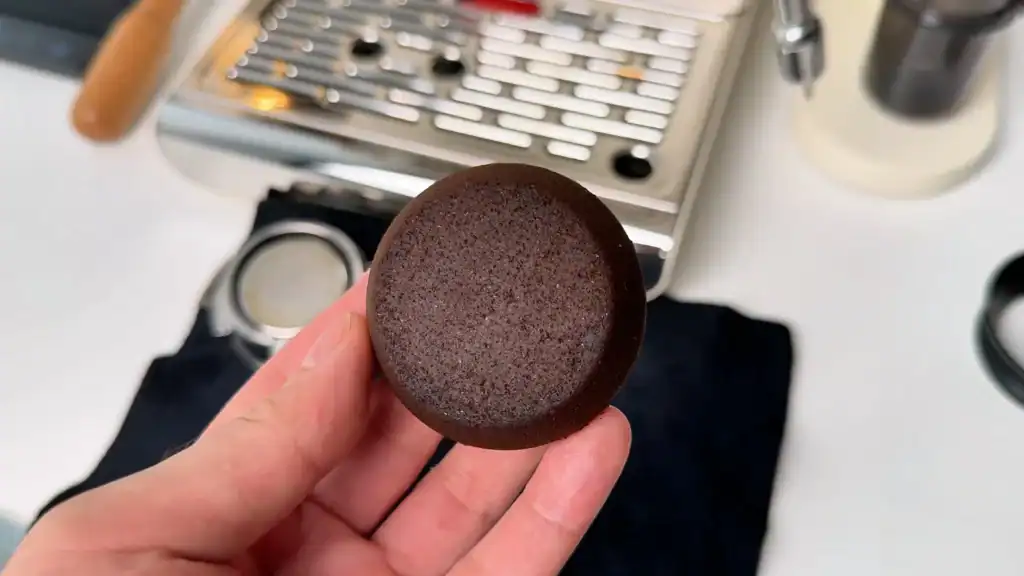
The 3-way solenoid valve works well too. The puck knocks out cleanly every time, usually dry and intact right after the shot.
Temperature Stability
A lot of home machines use thermoblocks because they heat up fast. But a boiler like this one keeps temperature steady through the whole shot.
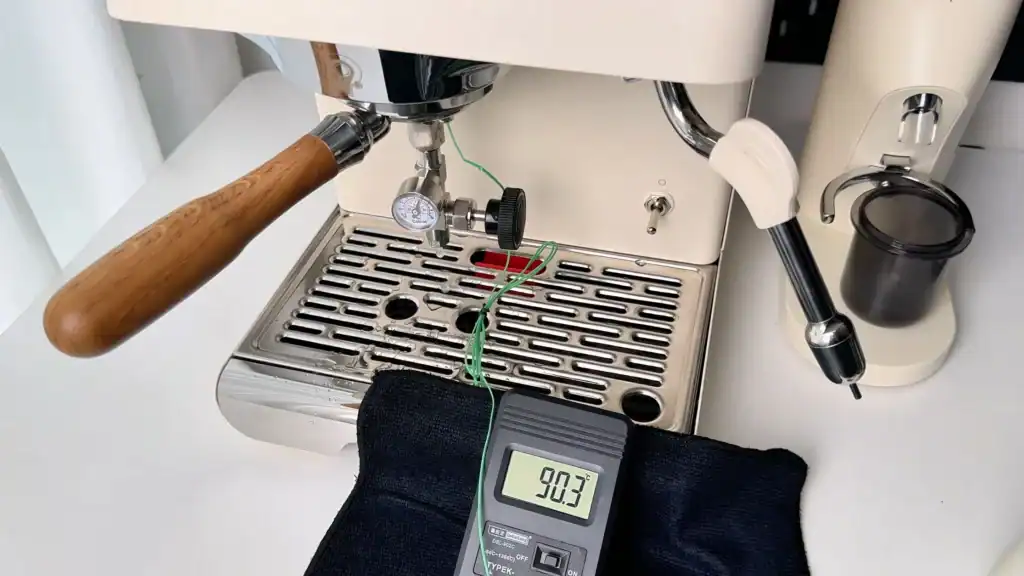
I tested this using a temperature probe inside the basket. When the machine was set to 197°F, the brew water stayed right around 90°C (194°F) all the way through extraction.
After pulling dozens of shots, what stands out is consistency. Once I’ve got the grind size dialed in, the results are the same every time. That’s what you want from an espresso machine.
Steaming Performance
The steaming performance is solid. The 2-hole steam tip creates strong pressure, so getting that smooth swirling motion in the milk is easy.
I usually set my target temperature around 140°F (60°C), but you can adjust higher or lower based on your preference.
Steaming Workflow
- Pull your espresso shot
- Hit the steam button (wand’s ready instantly)
- Insert wand near the spout
- Tilt at the 3 o’clock or 9 o’clock position
- Submerge just enough to keep the probe in contact
- Wait about 40 seconds
- Wipe off residue and purge the wand
The milk turns out soft, glossy, and smooth. The whole latte-making process feels smooth from start to finish.
With the built-in temperature probe, you can steam hands-free. But if you’re trying to get perfect microfoam for latte art, it might take a few tries to find the right angle. My latte art skills aren’t quite there yet, but simple patterns are easy to pour.
What matters most is that this setup makes it simple to brew a delicious latte at home.
Is the Gemilai Ele Worth $599?
The Gemilai Ele is priced at $599 during pre-sale. For that, you’re getting solid build quality, dual heating, adjustable pressure, and consistent extractions.
The only thing missing is a hot water spout. But at this price, there’s not much to complain about.
This machine handles everyday home brewing well. It’s the kind of setup you can keep for years. It’ll grow with you whether you’re just starting out or already know your way around espresso.
The adjustable OPV alone makes it worth considering if you want control over your shots. And the temperature stability means you won’t be chasing inconsistent extractions every morning. It’s an easy recommendation for home baristas who are serious about their espresso quality.