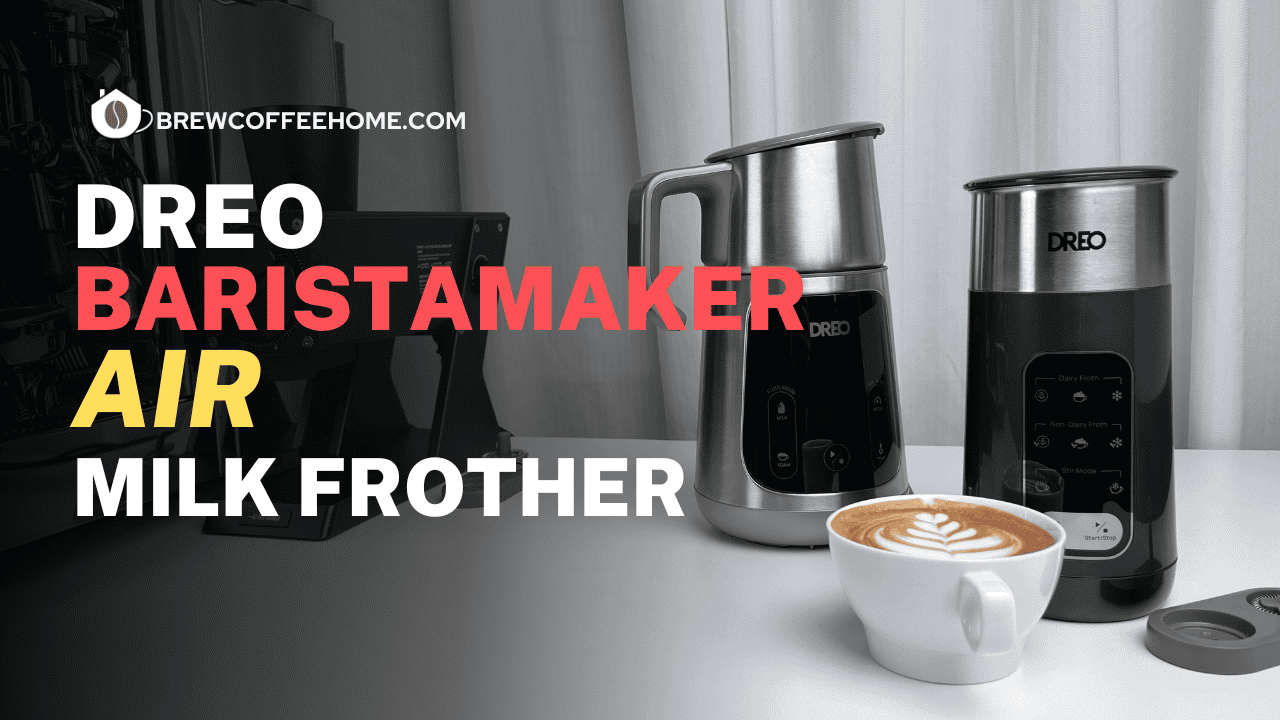
If you loved the original Dreo BaristaMaker electric milk frother, you’ll be intrigued by the new BaristaMaker Air version. It’s roughly half the price and much more compact-perfect for smaller kitchens or anyone on a budget.
After spending time testing both machines side-by-side, here’s my detailed, hands-on review comparing their design, performance, ease of use, and more.
Check out my Dreo Baristamaker Air review video on my channel.
Quick Summary: Should You Get the BaristaMaker Air?
- Great for beginners and those with limited space
- Makes excellent microfoam suitable for latte art using whole milk
- Simpler controls than the original, but fewer customization options
- Compact size fits easily on any countertop
- Ideal for pairing with manual espresso machines or Nespresso
- Under $60, it delivers impressive value
If you want more capacity, removable pitchers, and advanced settings for plant-based milk, the original BaristaMaker is still worth considering. But for most home users, the Air version hits a sweet spot.
Design & Build Quality
Size
The BaristaMaker Air is noticeably smaller and more compact than the original. This makes it perfect if you have limited countertop space.
The original has a larger footprint but offers a standalone stainless steel milk pitcher that fully detaches-great if you want to froth and pour directly for latte art.

Milk Pitcher Differences
- Original BaristaMaker:
- Fully stainless steel pitcher with clear measurement marks inside
- Detachable and standalone, ideal for latte art pouring
- BaristaMaker Air:
- Integrated pitcher design attached to the base
- Measurement marks are present but less clear and have an extra coating
- Requires transferring froth to your own jug for latte art
Both machines have a solid feel and look premium despite their affordable price points.

Milk Jug Capacity
For latte art, both machines handle similar milk volumes. However, the Air has a smaller capacity for stirring and foam functions.
How I Tested:
I poured water up to the lowest latte art line in the original pitcher, then transferred it to the Air’s container. Surprisingly, the recommended milk amount for latte art was almost the same in both.
Details:
- The original’s max stir line nearly fills the entire Air pitcher, meaning the Air holds less milk for stirring.
- The foam capacity shows a similar pattern-the Air’s max foam level corresponds roughly to the original’s stir max line.
So if you mainly want to make lattes, the Air’s capacity is sufficient. But if you often stir or foam larger quantities, the original might be better.
Frothing Tips & Accessories

Both models come with two frothing tips:
- Impeller Tip:
- On the Air, it features an improved bottom design to prevent milk from burning or sticking to the base.
- Stirring Tip:
- Nearly identical on both machines.
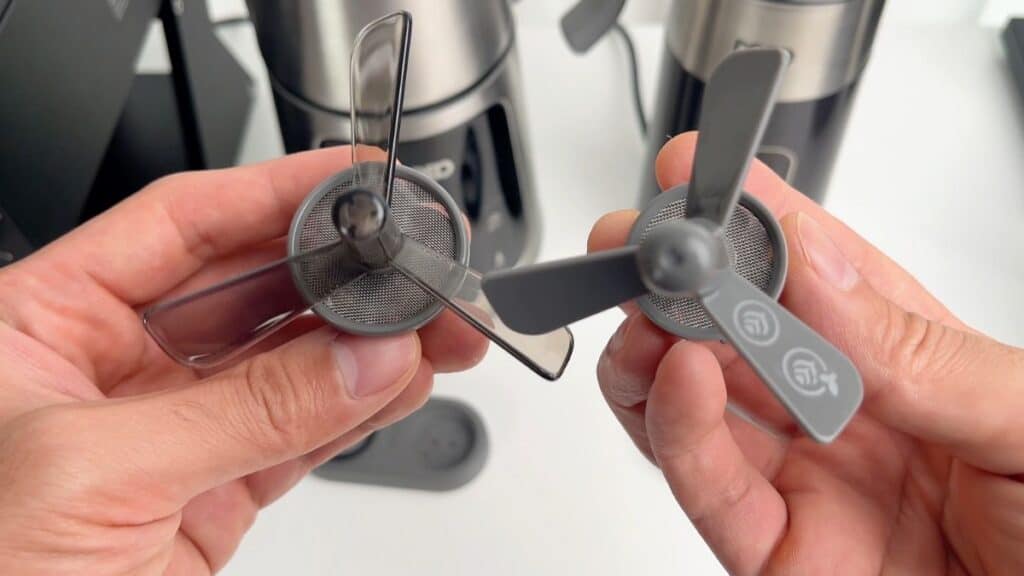
Both tips store magnetically on a convenient holder-a small but thoughtful feature that keeps everything tidy.
Interface & Settings: Simple vs. Advanced
BaristaMaker Air:
- Control panel divided into three sections:
- Dairy frothing modes (latte art, thick froth, cold froth)
- Non-dairy frothing modes (same options)
- Stir mode (hot or cold)
- Navigation via a menu button cycles through options-simple and beginner-friendly.
- No touchscreen, so if you pass your desired option, you cycle through again.

Original BaristaMaker:
- Offers extensive customization:
- Select milk type (whole, plant-based varieties)
- Adjust foam type and density
- Stirring mode allows speed and temperature control
- Central display shows frothing tip recommendations and countdown timer.
- Feels more professional but has a learning curve.

My Take:
The Air is perfect if you want a quick, no-fuss experience. The original is better if you want to fine-tune your frothing for different milk types.
Performance: Speed, Temperature & Foam Quality
I tested both milk frothers using the latte mode with the same amount of milk, starting them simultaneously.
- Both start slow to heat the milk, then speed up once a target temperature is reached.
- The Air switches to high speed slightly faster than the original.
- The frothing disc at the bottom does the main work; the fan blades on top don’t spin but help break up large bubbles for smoother microfoam.
Results:
- BaristaMaker Air: Finished in 3 minutes 18 seconds; milk temperature around 68°C (154°F) immediately after frothing.
- Original: Finished shortly after; temperature about 62°C (144°F).


Foam Texture:
- The Air produced fine, glossy microfoam with good flow when swirled-excellent for latte art after tapping and pouring.
- The original also made beautiful foam, but the Air’s quality at half the price was impressive.

Latte Art Test
Using the Air’s milk foam, I pulled a latte art pattern:
- Foam was smooth, dense, and easy to pour patterns with.
- Texture and thickness were just right.
- Temperature was spot on, and the milk tasted sweet and rich.
For under $60, this is outstanding performance without needing a steam wand.

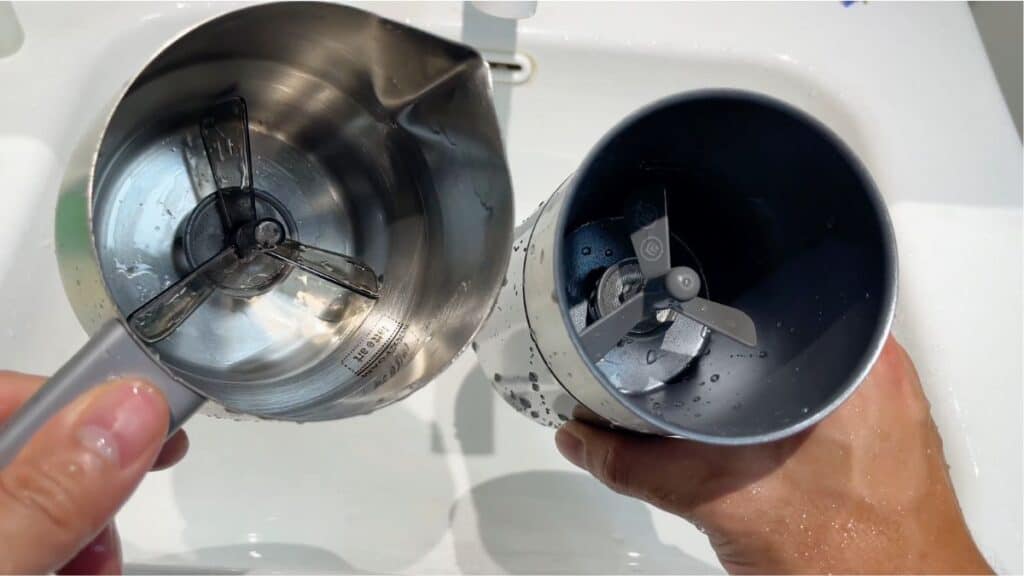
Cleaning & Maintenance
- Neither machine had milk sticking to the base after frothing.
- The original’s all-stainless steel pitcher rinses easily.
- The Air’s attached pitcher is angled so water doesn’t seep into the base if you rinse carefully without flipping it over.
- Both allow removal of frothing tips for thorough cleaning.
- I recommend wiping dry after washing to keep the heating plate and base in good condition.
Cleaning is straightforward and hassle-free on both models.

Beyond Latte Art: Making Dalgona Coffee & More
The BaristaMaker Air is versatile beyond just frothing milk. Here’s how I use it for whipped coffee and other drinks:

Dalgona Coffee Recipe Using BaristaMaker Air:
- 2 tablespoons instant coffee
- 2 tablespoons sugar
- 3–4 tablespoons water
- Use the dairy cold froth mode
- Prepare a glass with ice and milk
- Froth the coffee mixture until thick and creamy
- Pour over milk and ice-no manual whisking needed!
I also tested frothing the same ingredients with the cold stir mode, the result was not as fluffy as the dairy cold froth mode.

Other Uses:
- Use the stir mode (hot or cold) to mix hot chocolate, cocoa powder, or milk foam toppings quickly and evenly.
This multifunctionality makes the Air a handy tool for many coffee and drink recipes.
Pros & Cons Summary
Dreo BaristaMaker Air
Pros:
- Compact and space-saving
- Affordable price point (~$60)
- Simple, beginner-friendly controls
- Produces excellent microfoam for latte art with whole milk
- Versatile for whipped coffee, hot chocolate, and more
Cons:
- Integrated pitcher requires transferring froth for latte art
- Smaller capacity for stirring and frothing compared to original
- Limited customization for milk types and foam density
Dreo BaristaMaker (Original)
Pros:
- Larger milk capacity
- Removable stainless steel pitcher for easy cleaning
- Advanced settings for milk type and foam customization
- Professional feel with display and timer
Cons:
- Higher price
- Larger footprint
- More complex interface with learning curve
Final Verdict: Which One Should You Buy?
If you want a compact, affordable, and easy-to-use milk frother that delivers excellent latte art microfoam, the Dreo BaristaMaker Air is an outstanding choice. It’s perfect for beginners or anyone who wants great milk froth without fuss or a big countertop footprint.
If you need more capacity, removable pitchers, and advanced milk customization-especially if you use a variety of plant-based milks-the original BaristaMaker remains a solid option.
Either way, both machines offer great value and let you enjoy delicious milk-based drinks at home without a steam wand.